Halloween Lantern DIY Kit by Yucandu
What a fun Halloween project made from a kit by Yucandu Art Studio! These kits are available to purchase online or in store https://www.yucandu.com/product/halloween-lantern/


Supplies included: A metal lantern (14.5″ h x 6 x6″, Styrofoam base, 2 skeletons, a black glittered twig branch, 2 mini pumpkins, 3 marble tombstones, a witch’s broom, owl, 2 bottles and labels, wooden sign, garland of black roses, ribbon, rocks, pipe cleaners, paint, Ultra-thick glue, craft stick and 2 matchsticks, moss and netting.
You will need: paint brush, wet wipe, sharpie, disposable cup of water
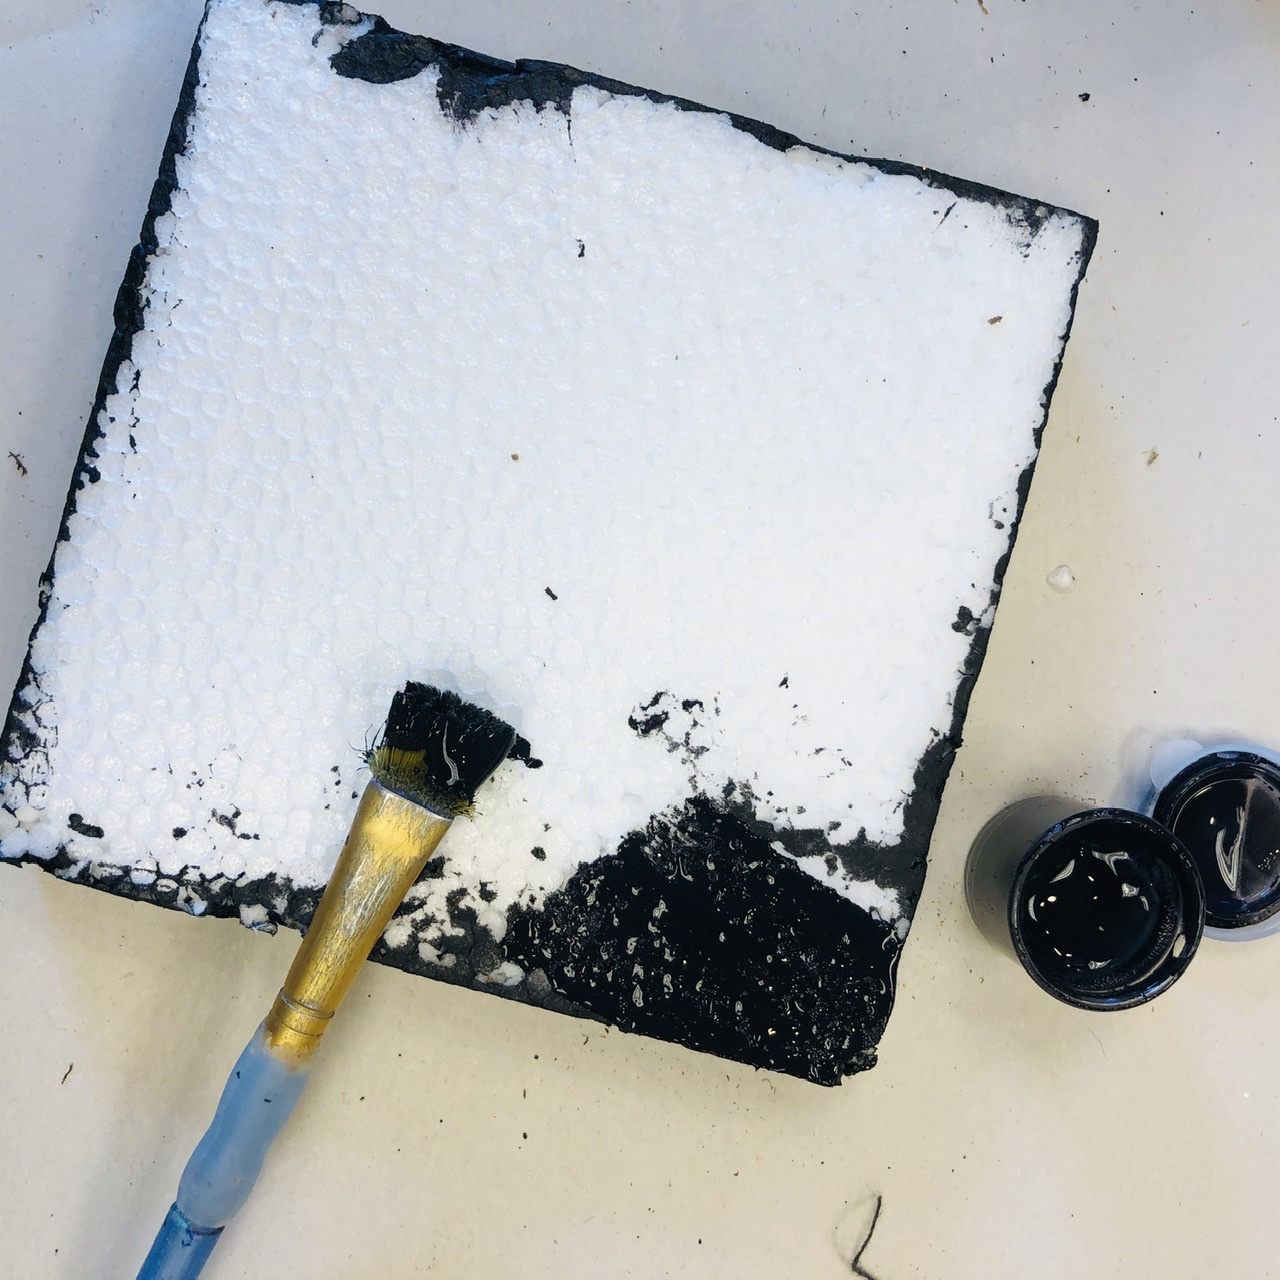
First, set aside all supplies except for the paint pot and the Styrofoam square that fits into the bottom of lantern. Paint the edges of the Styrofoam square and the top side. Allow to dry thoroughly.
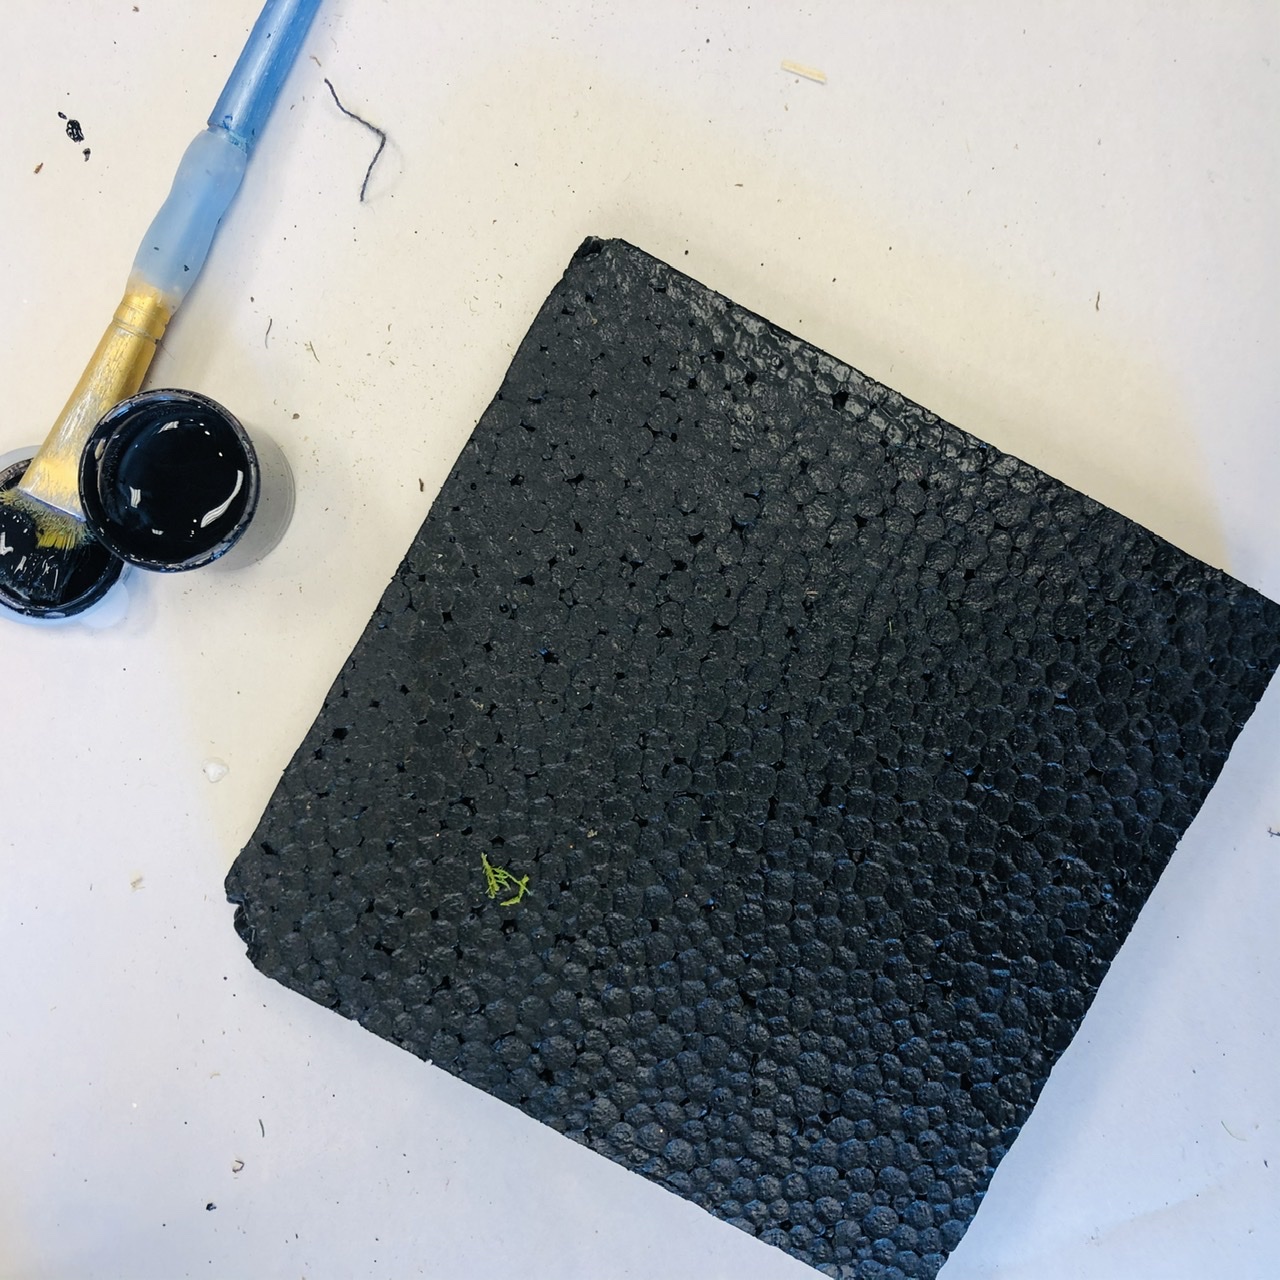
See in the picture below how the painted Styrofoam square will fit just under the black “fence” in the lantern! However, you will need to leave the painted Styrofoam out of the lantern for the next several steps.

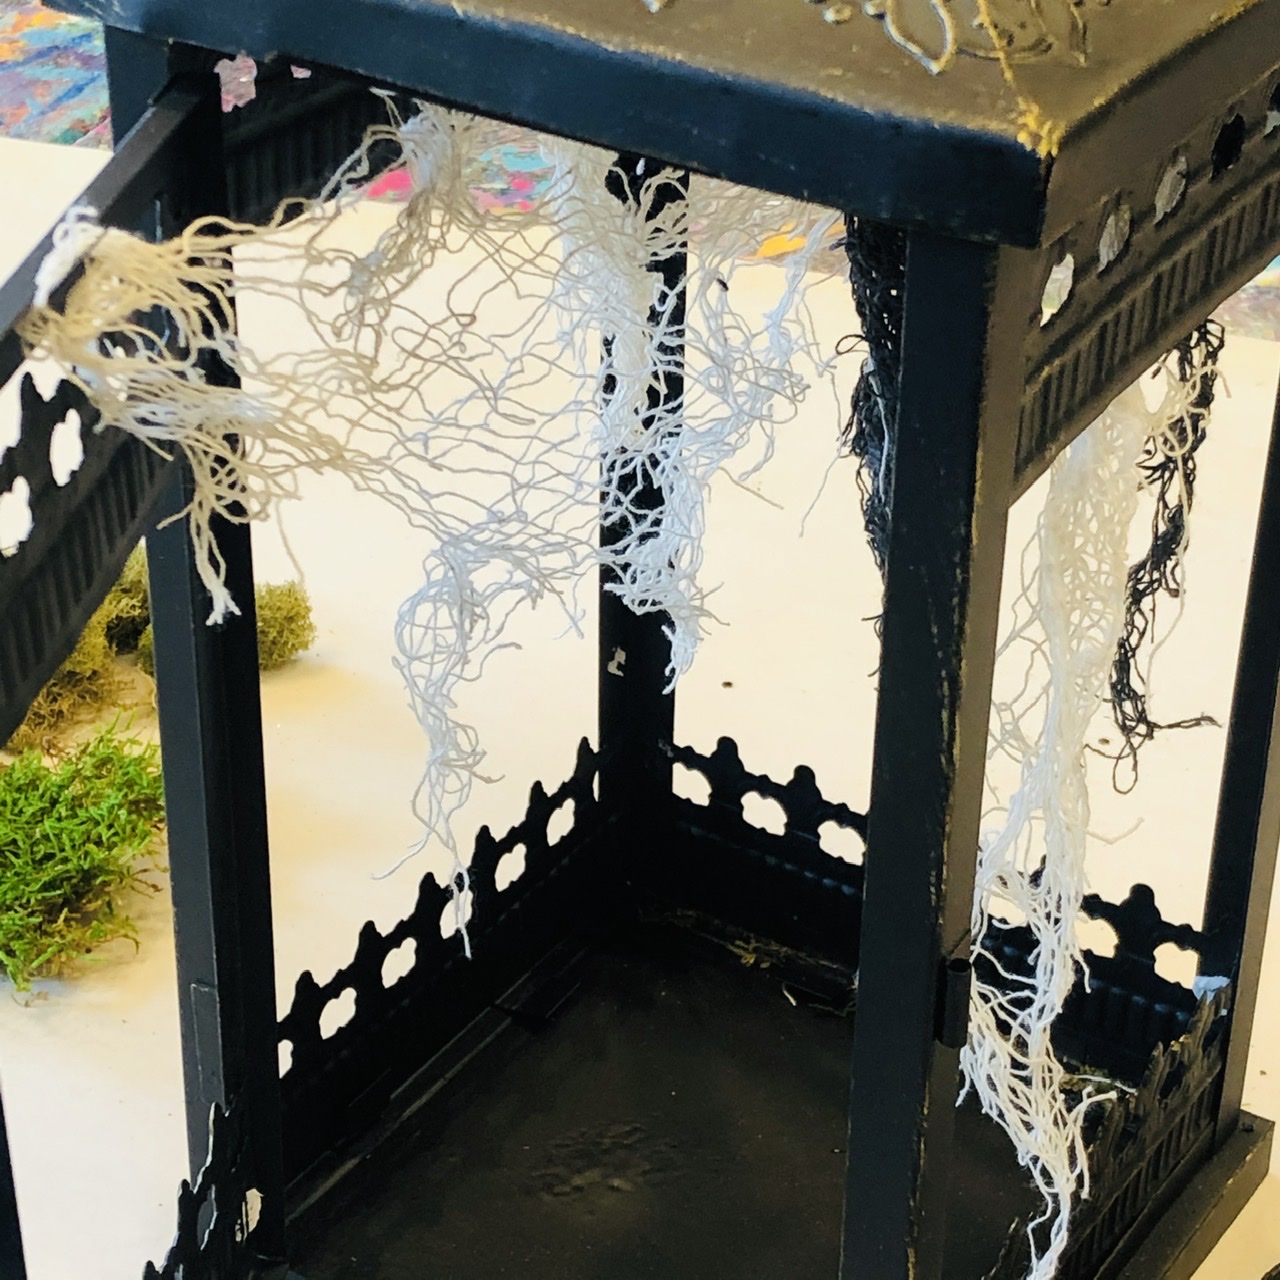
While the paint dries, find the metal tabs inside the lantern. You can use those tabs to help hang the gauzy net. Lay the lantern on it’s side and play around with the netting until you’re happy with how it looks. Using the craft matchstick, add a small dab of the Ultra thick glue (ULT) to the tabs and pinch them closed. This glue is awesome–it’s acid free, dries clear and works great attaching just about anything to wood or metal.

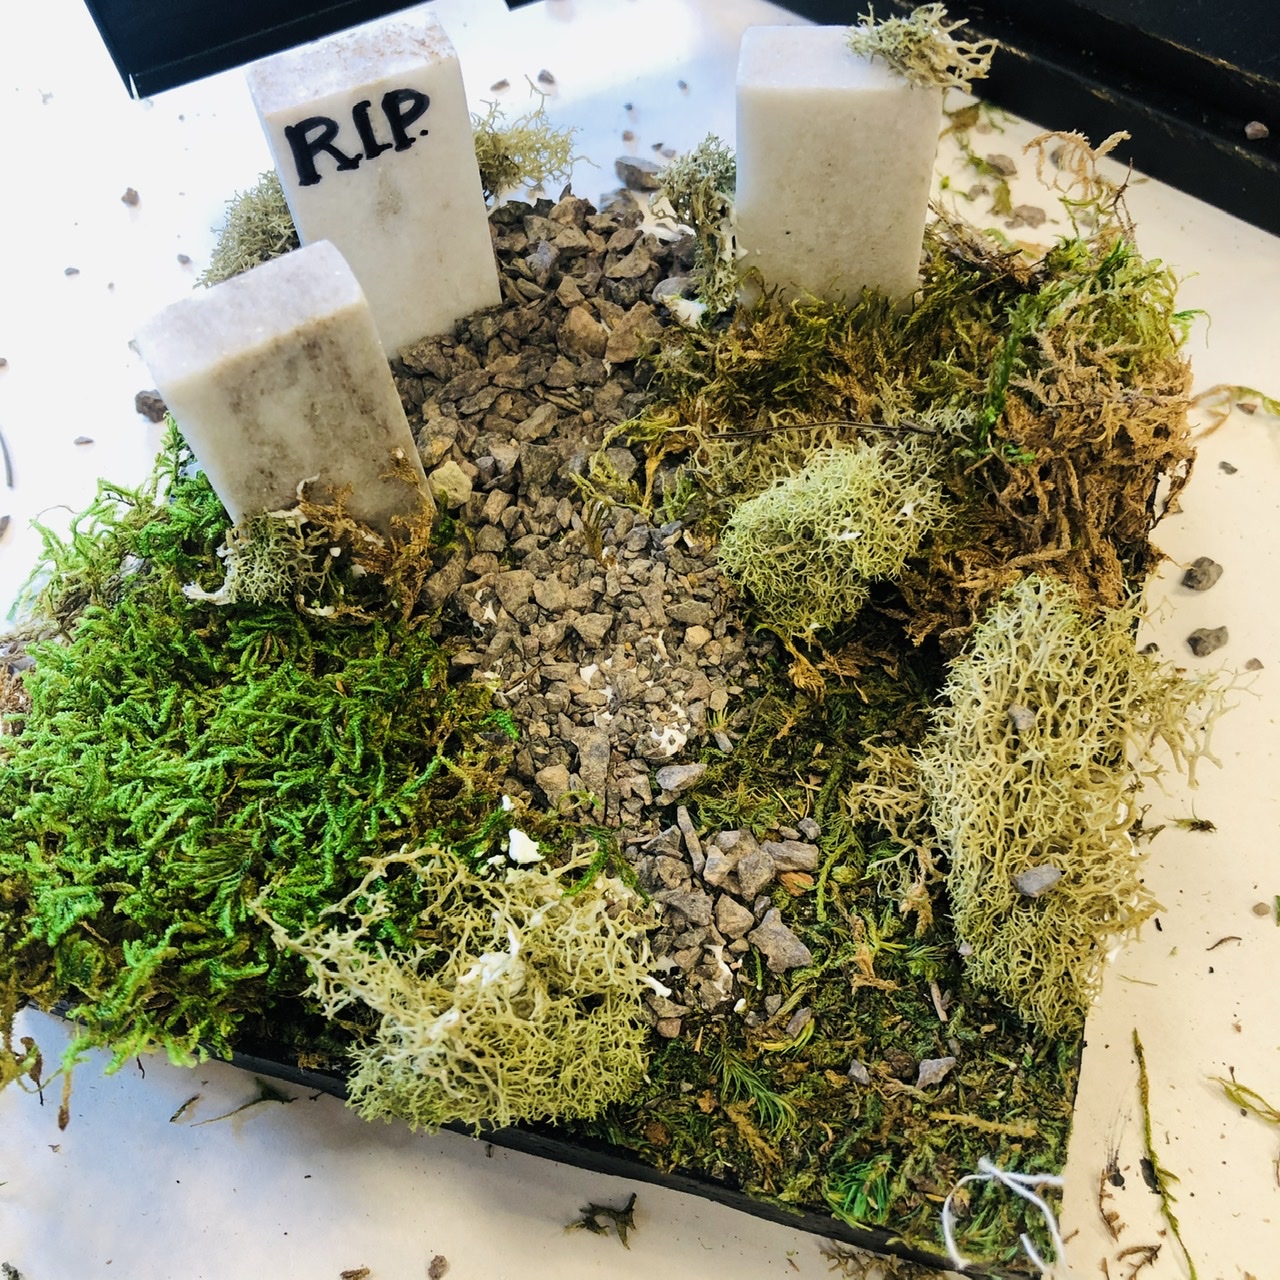
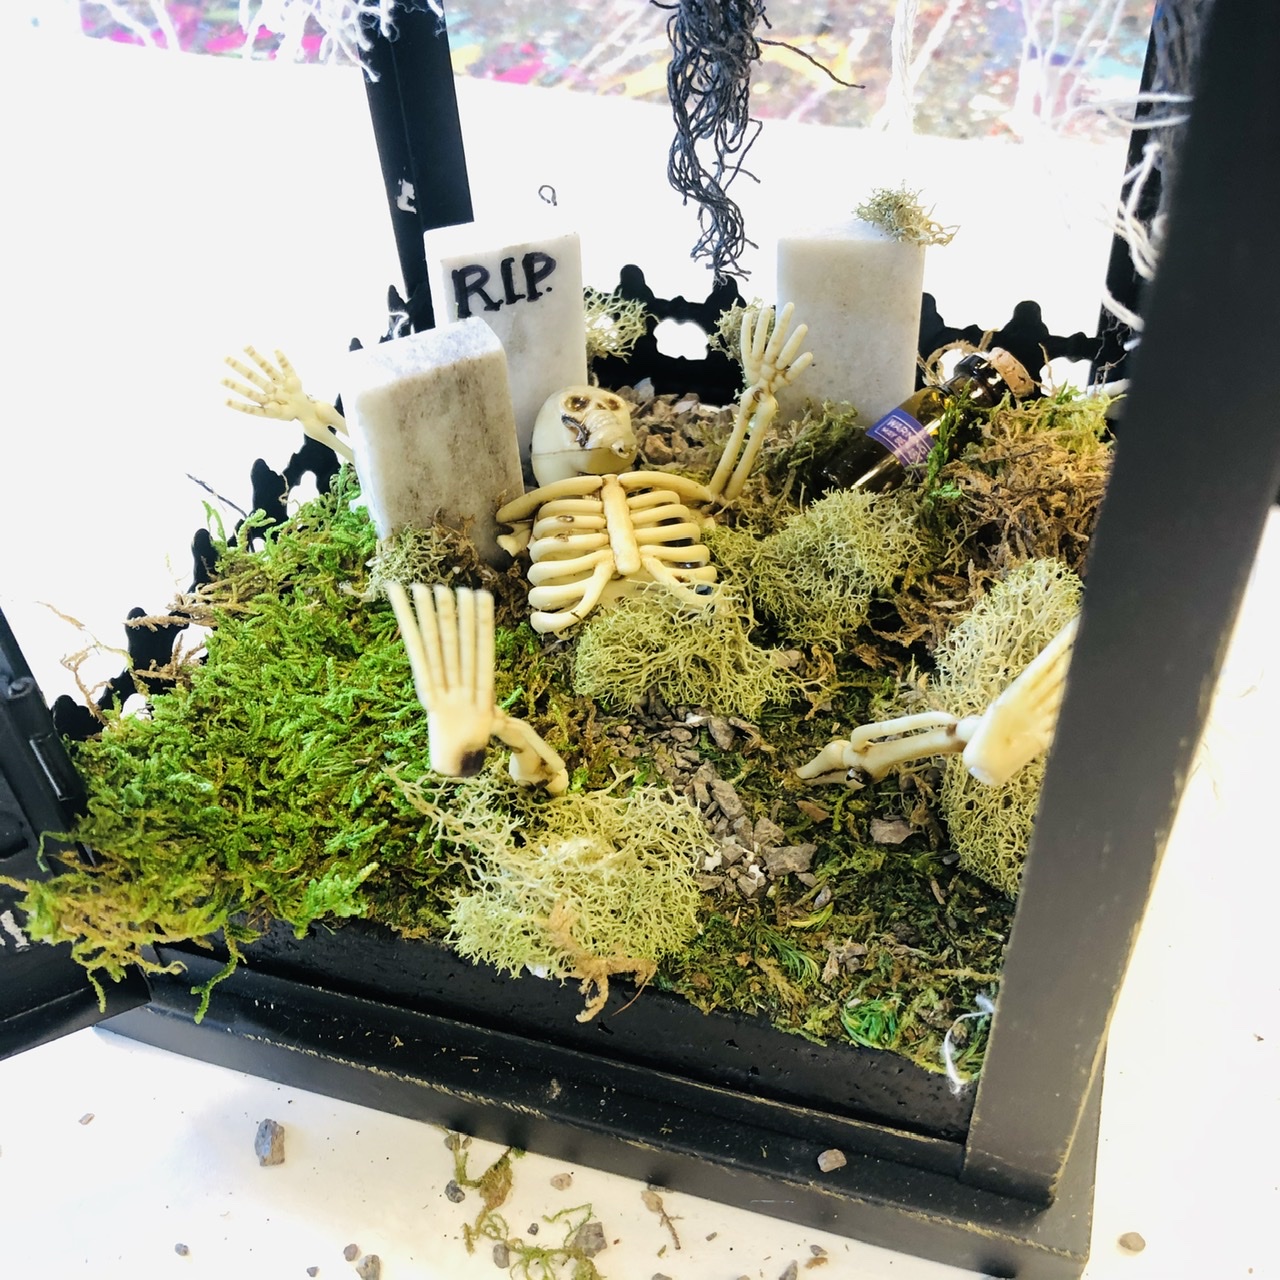
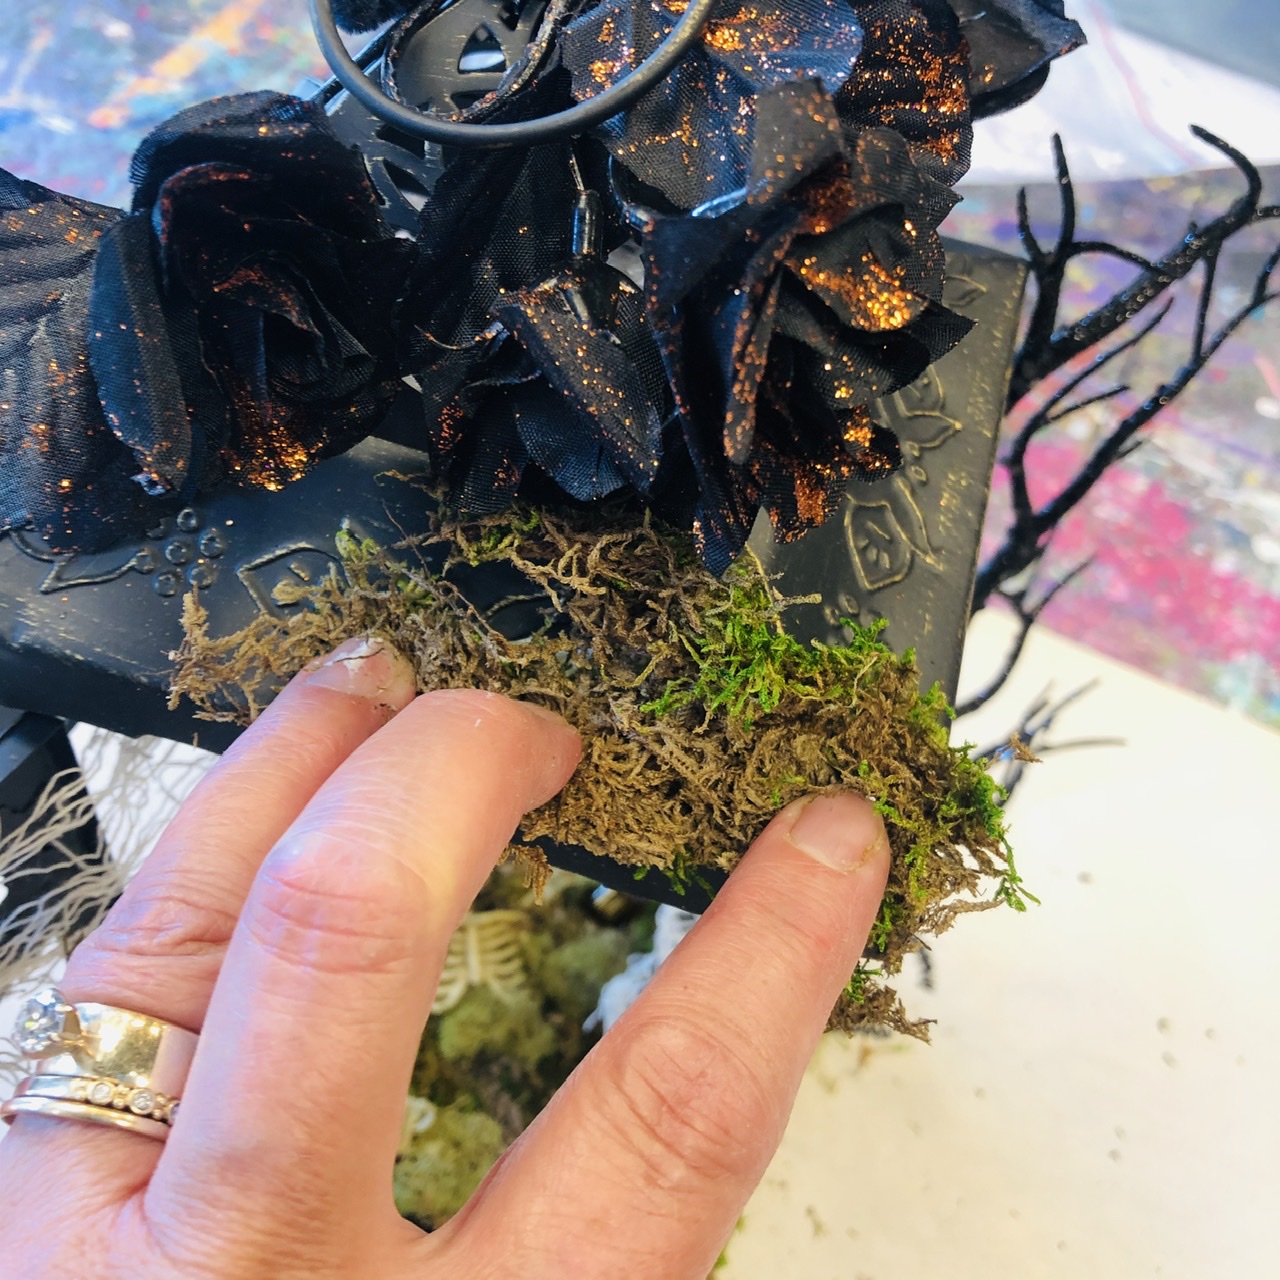
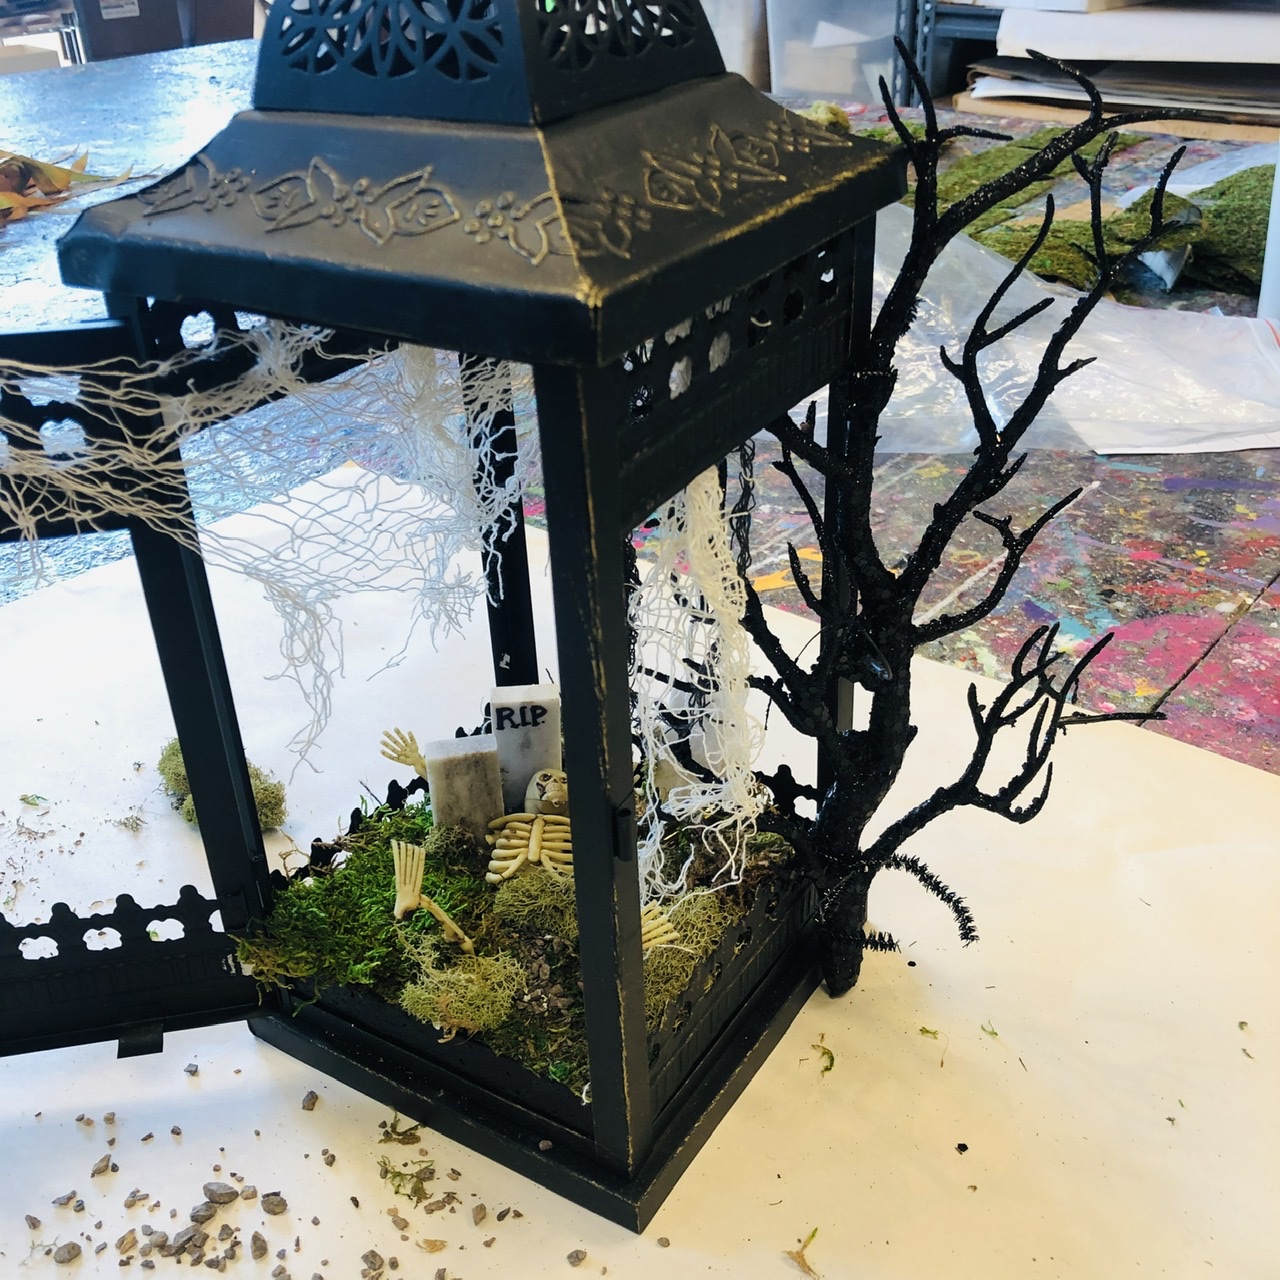
Cut the sheet moss to your liking. Attach with a few small dollops of ULT underneath to secure it. I left a large area for the rocks to make a miniature “cemetery” area for the three marble tombstones.

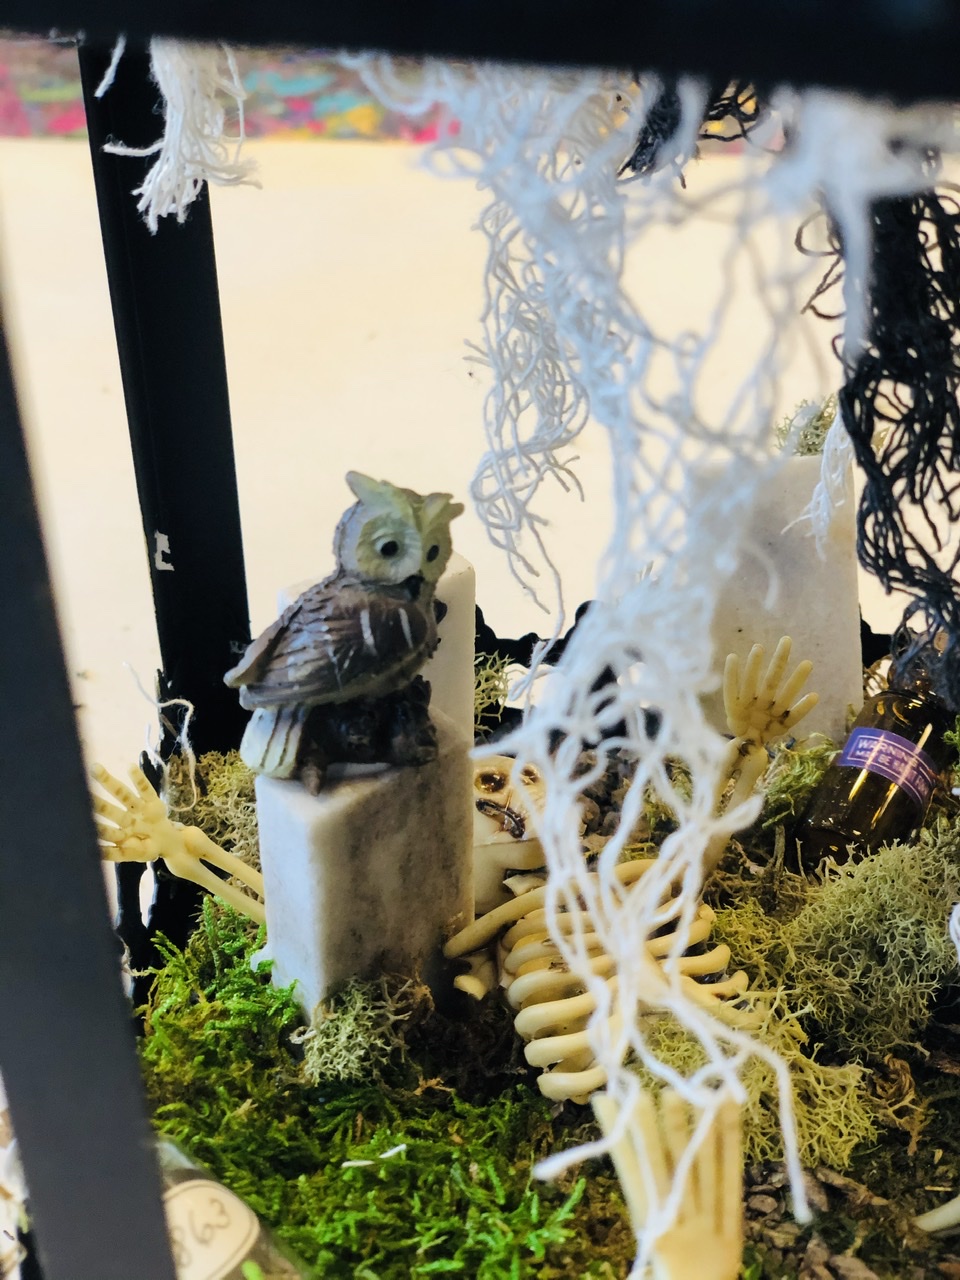
Using a sharpie, write something funny or spooky onto the marble tombstones. Then spread an even amount of ULT across the area without moss and place the tombstones. Sprinkle the small rocks on the remaining glue around the tombstones. Add more glue and more rocks as desired.

Break or tear the other types of moss into small pieces and glue into place. The smaller the pieces, the more natural it will look. Again, the glue dries clear, but not invisible, so use sparingly–you don’t want to see dried clear glue on top of your moss.
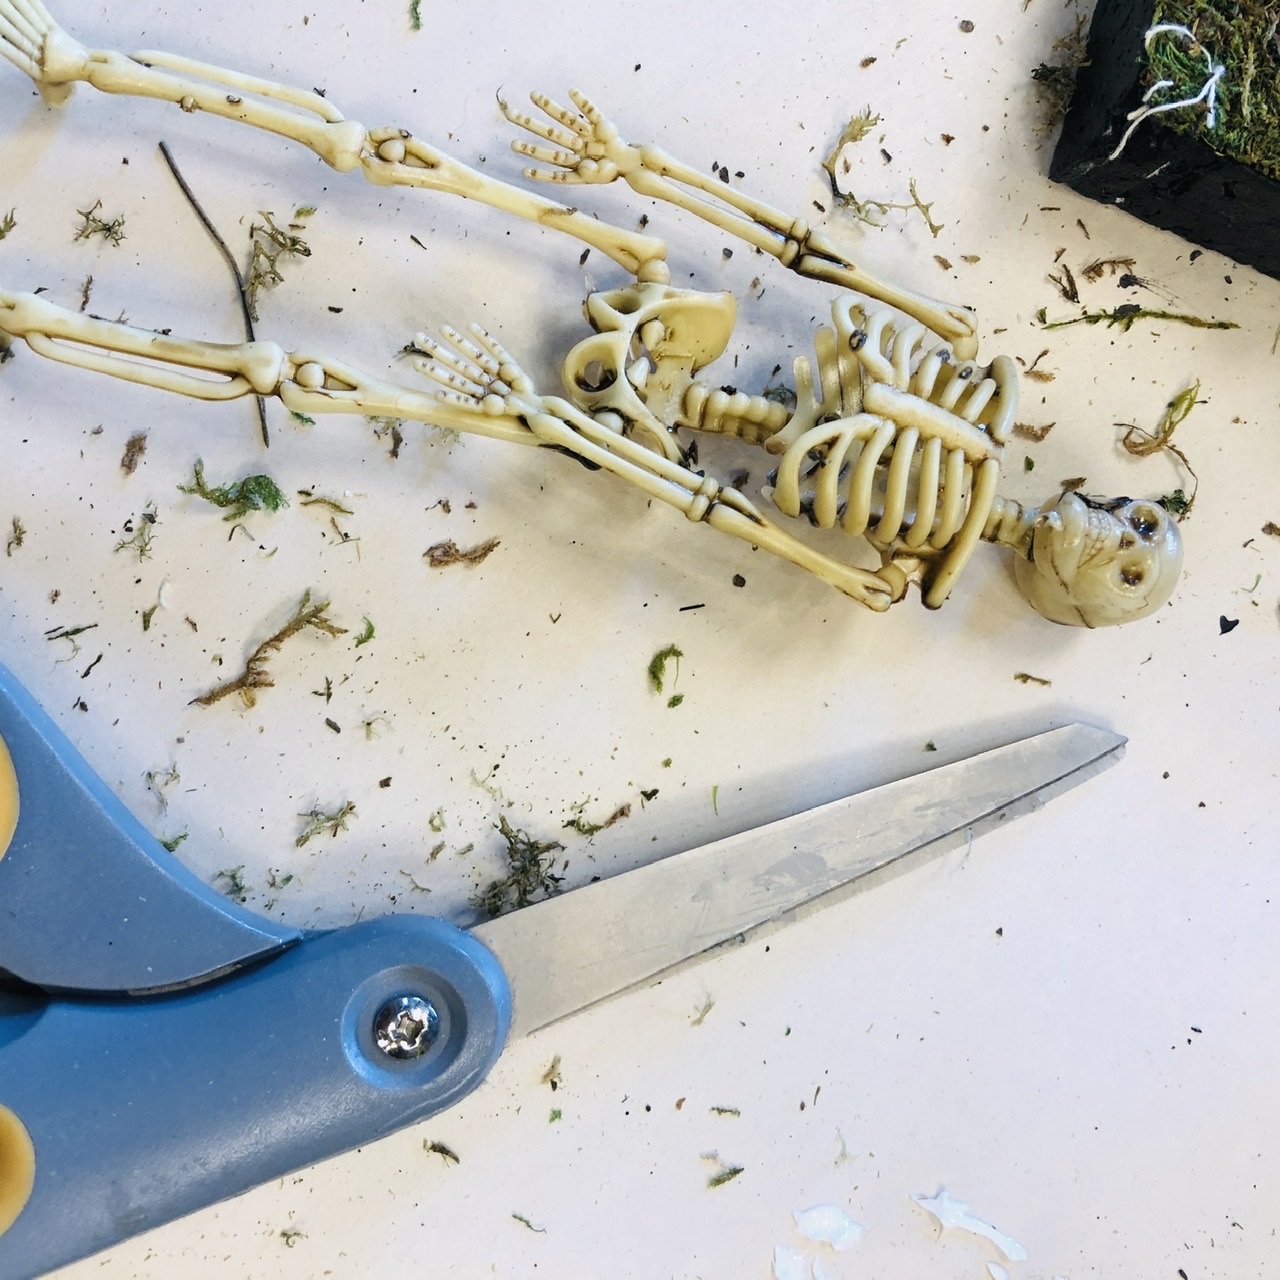
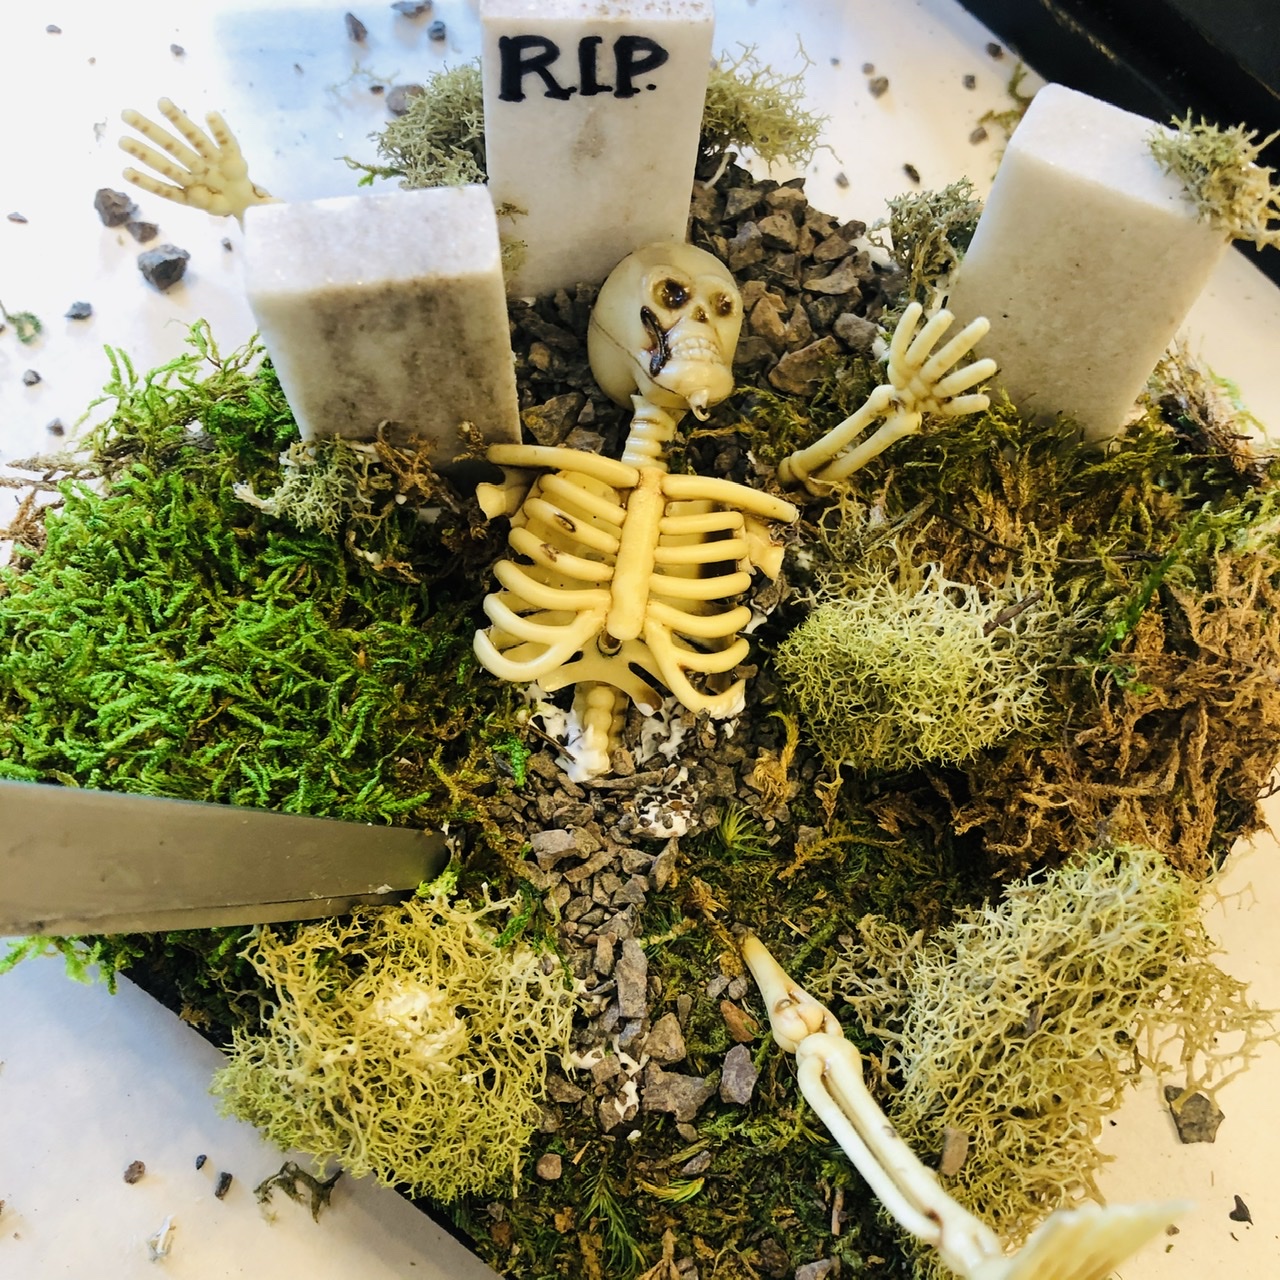
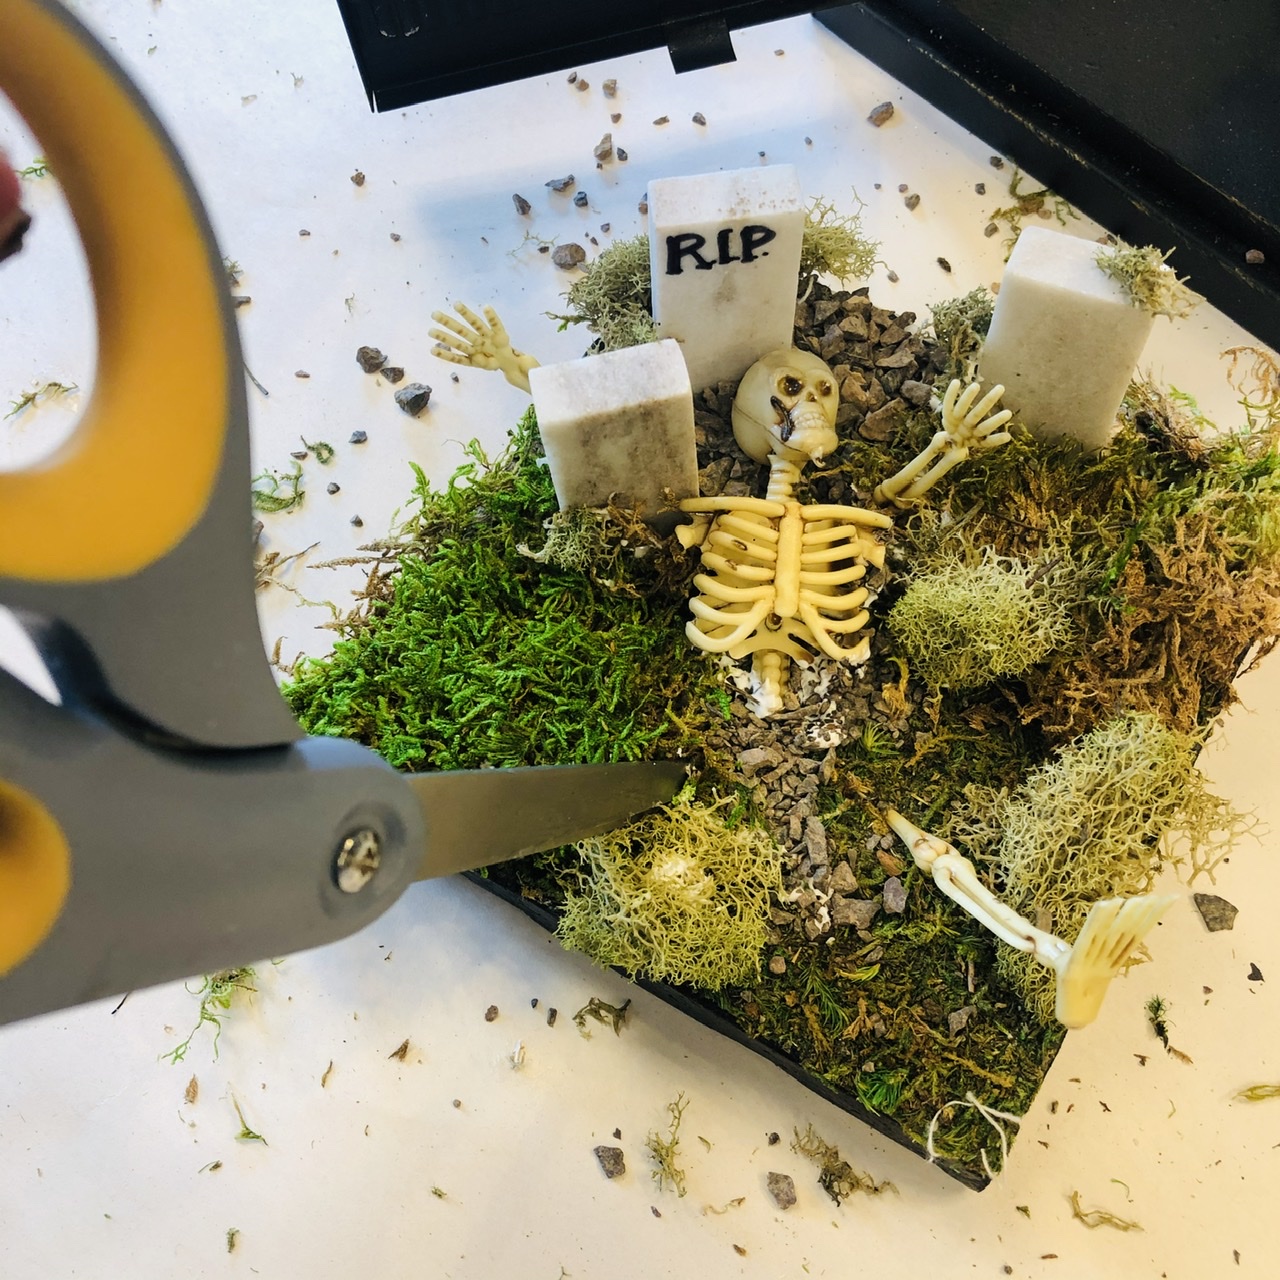
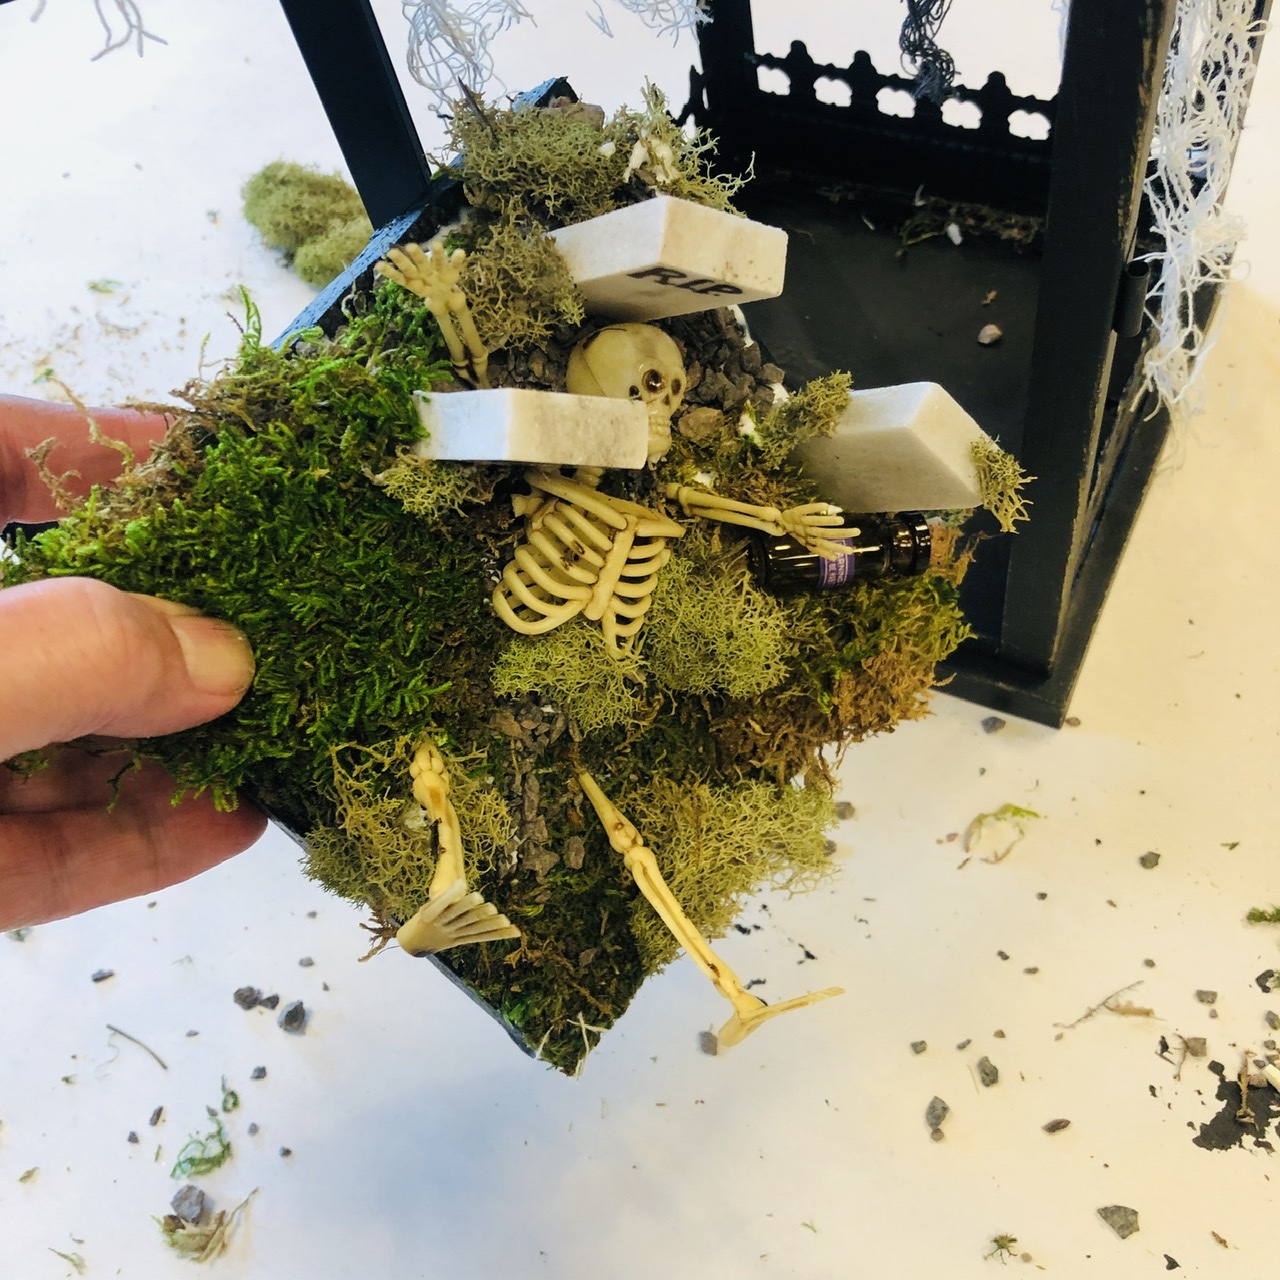
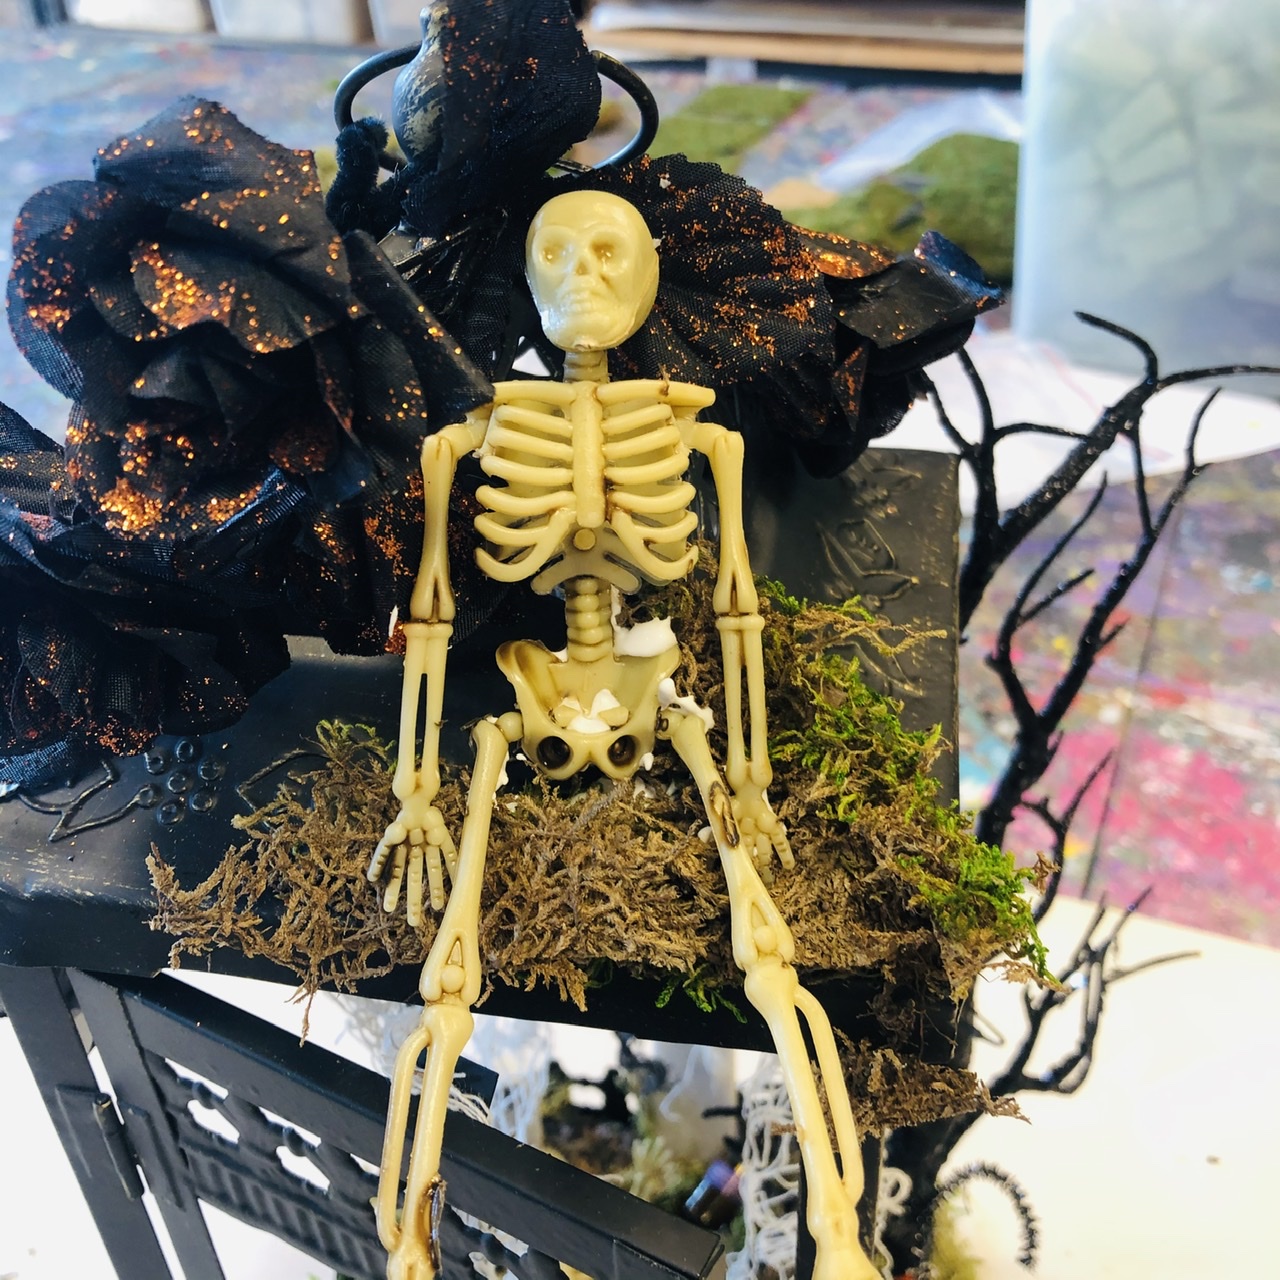
Cut the circular tabs off the top of the plastic skeletons. Cut up one of the skeletons so you will have pieces to “poke” into the the Styrofoam. I used the tip of the scissors to cut through the moss and help make the holes into the Styrofoam. Dip the plastic skeleton pieces into the ULT and poke them into the moss or rocks and Styrofoam.
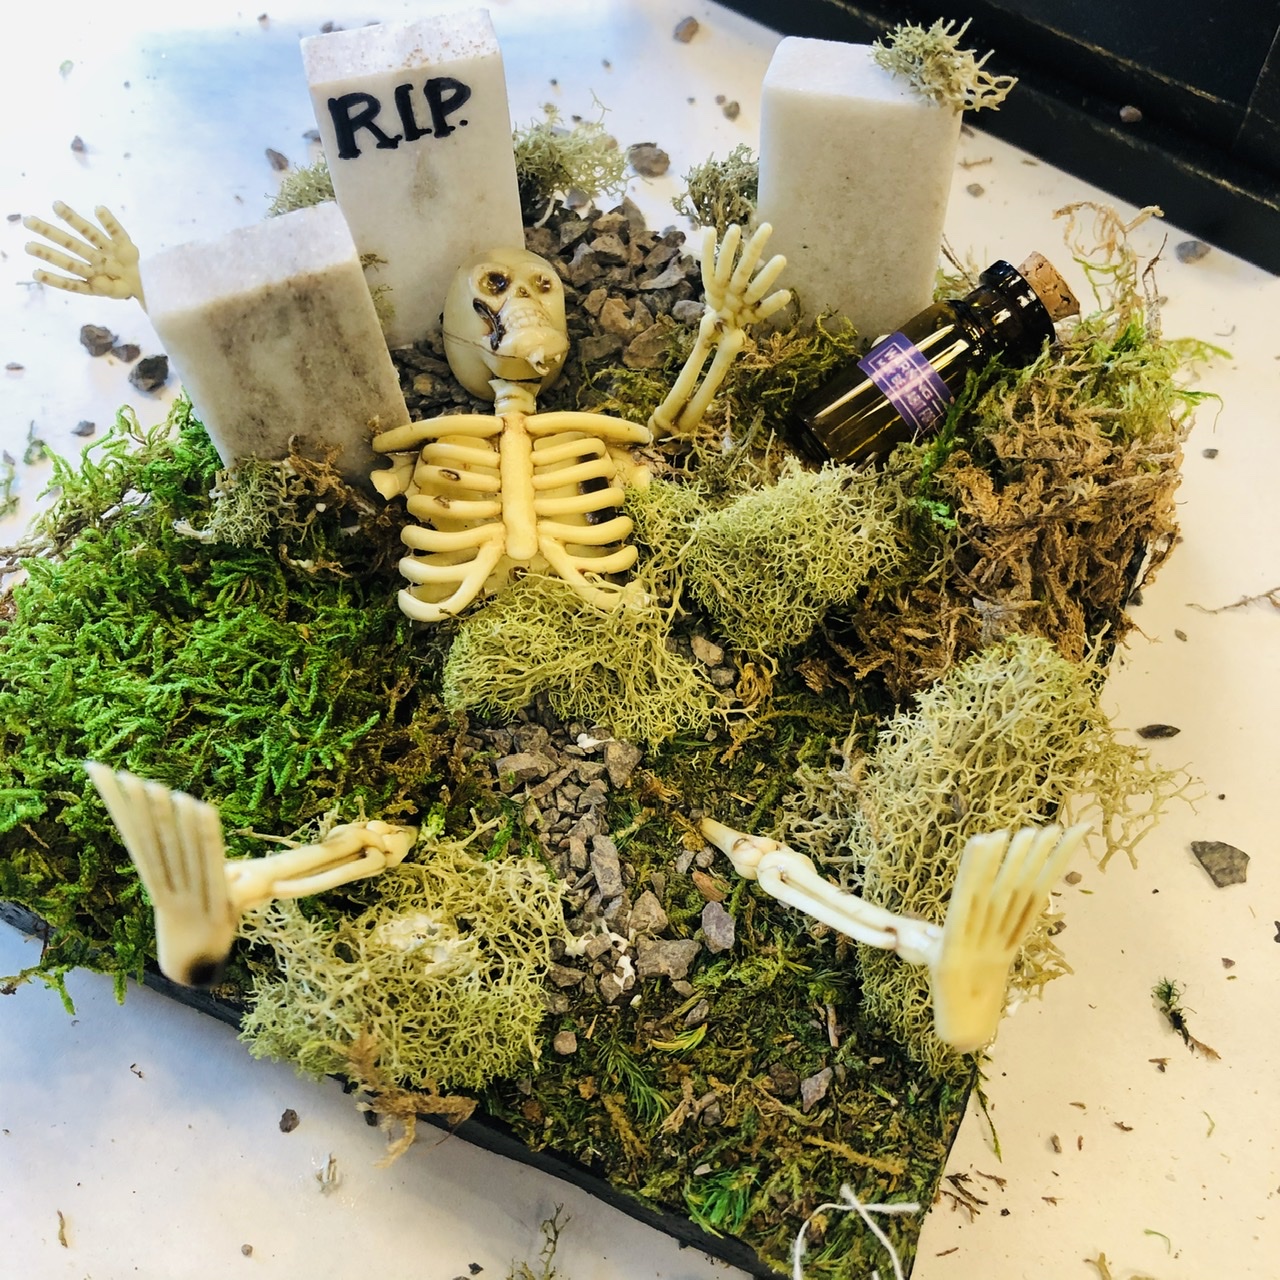
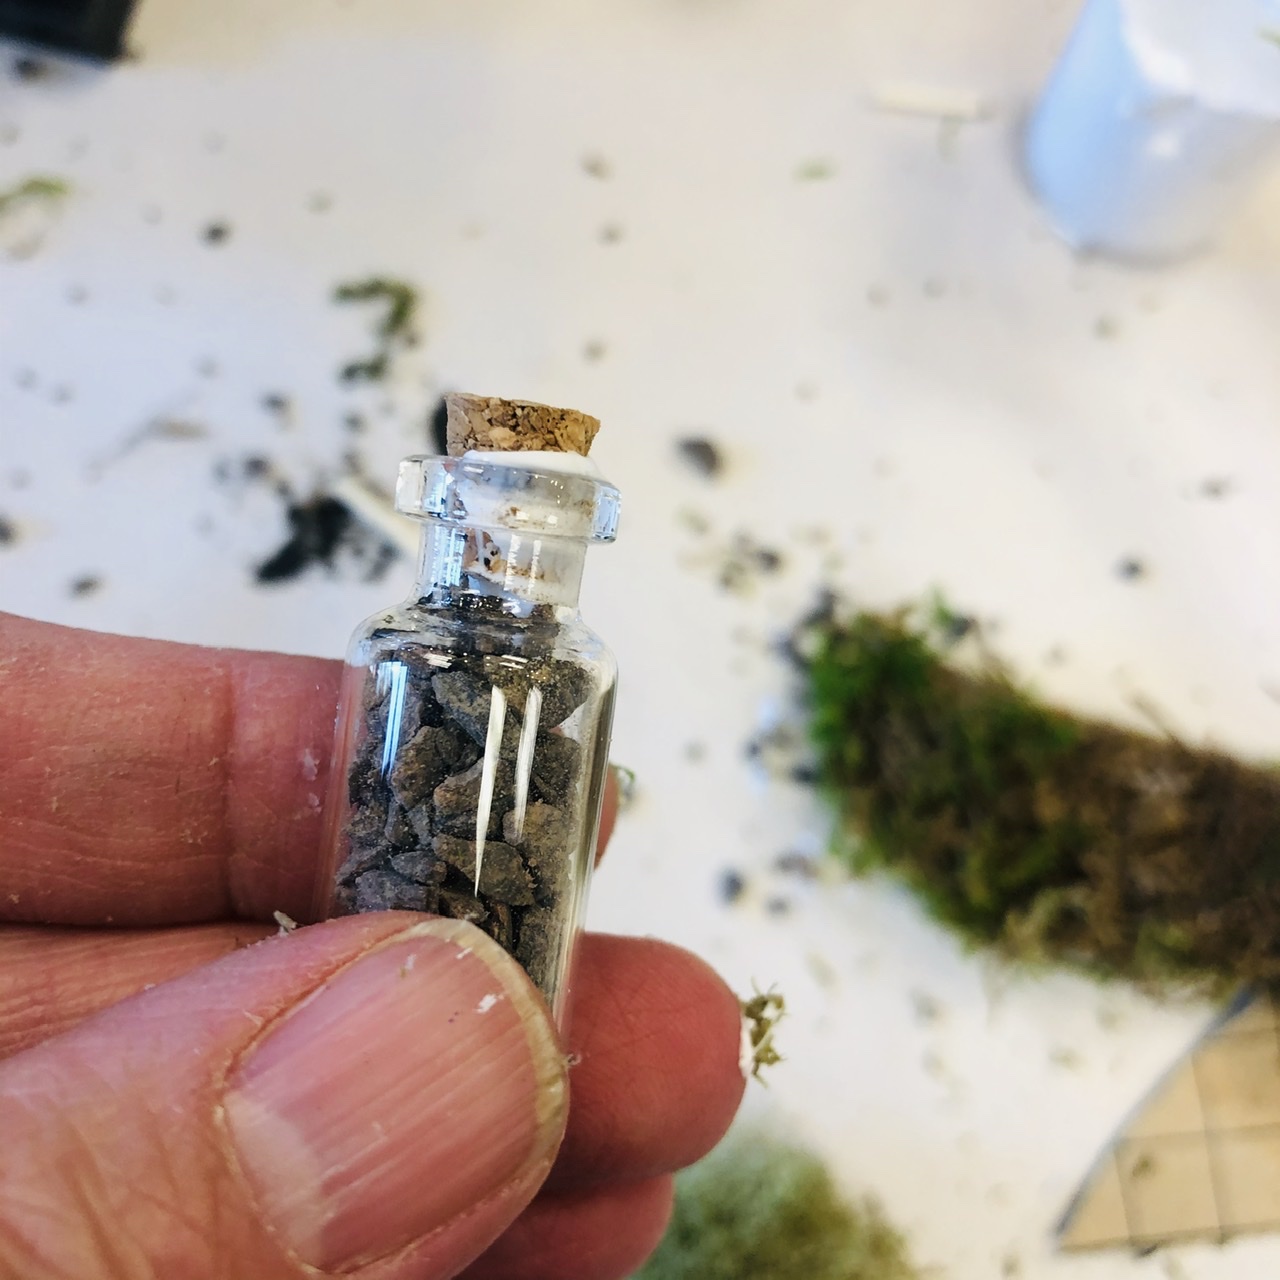
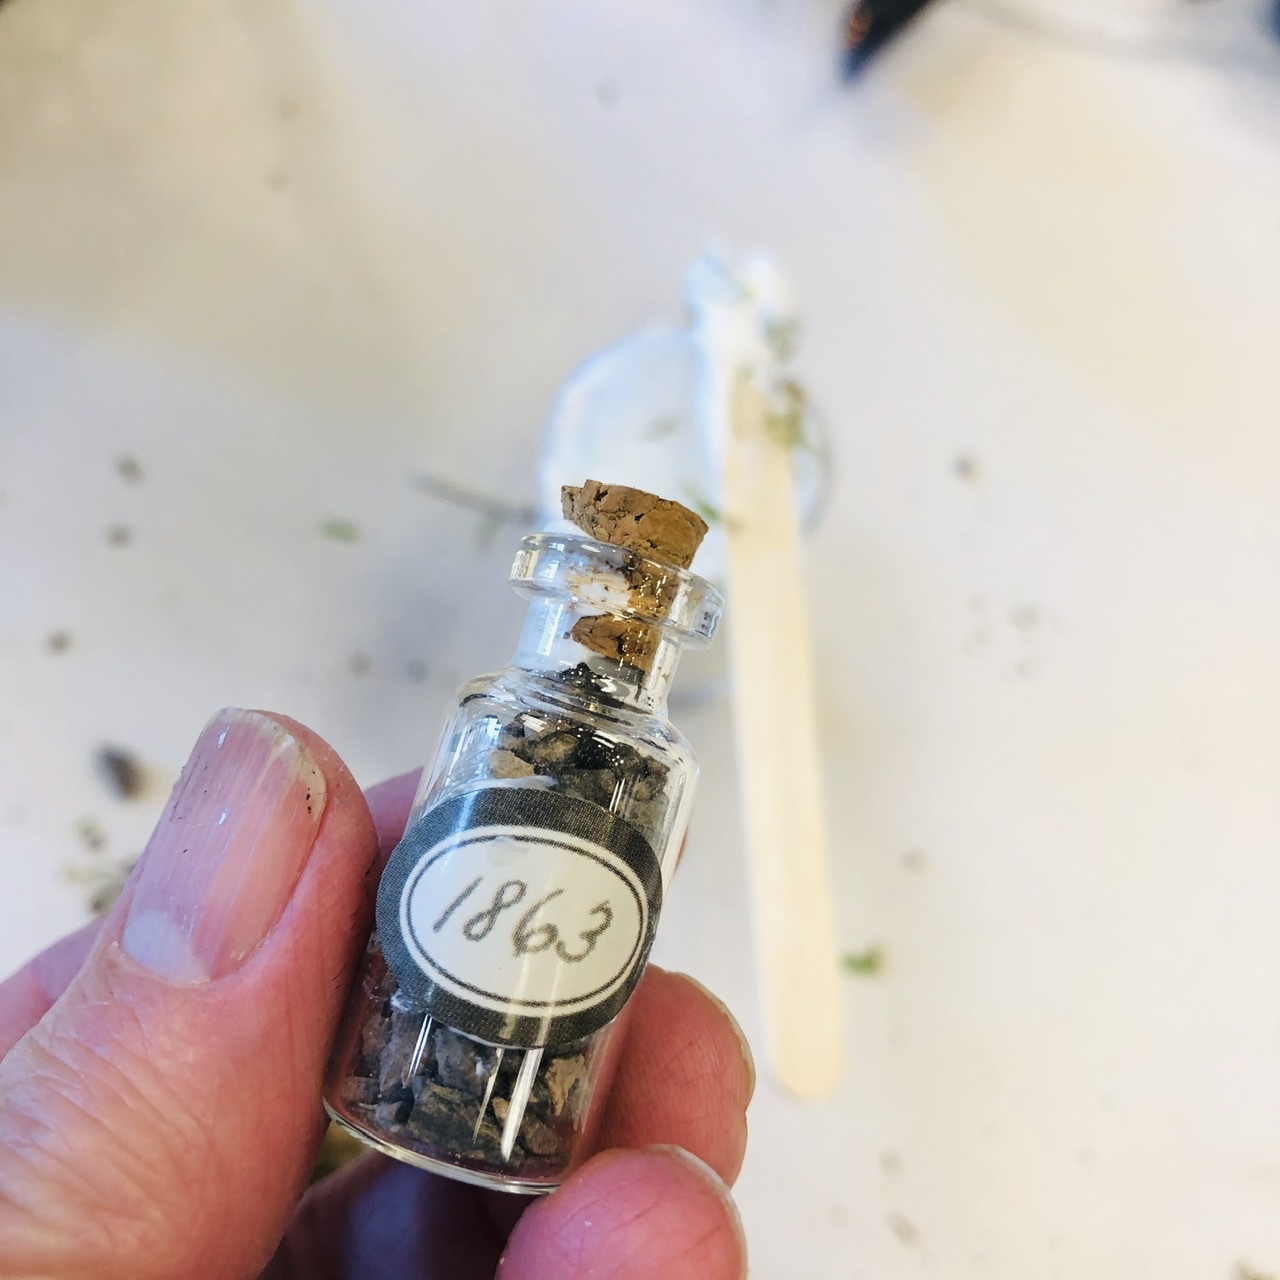
Pour a few of the little rocks into a bottle and glue on the cork with the smallest amount of ULT. Even the though the labels are stickers, I added a little bit of ULT under the sticker to made it more permanent. I glued one bottle inside the lantern and saved the other for the outside of the lantern.
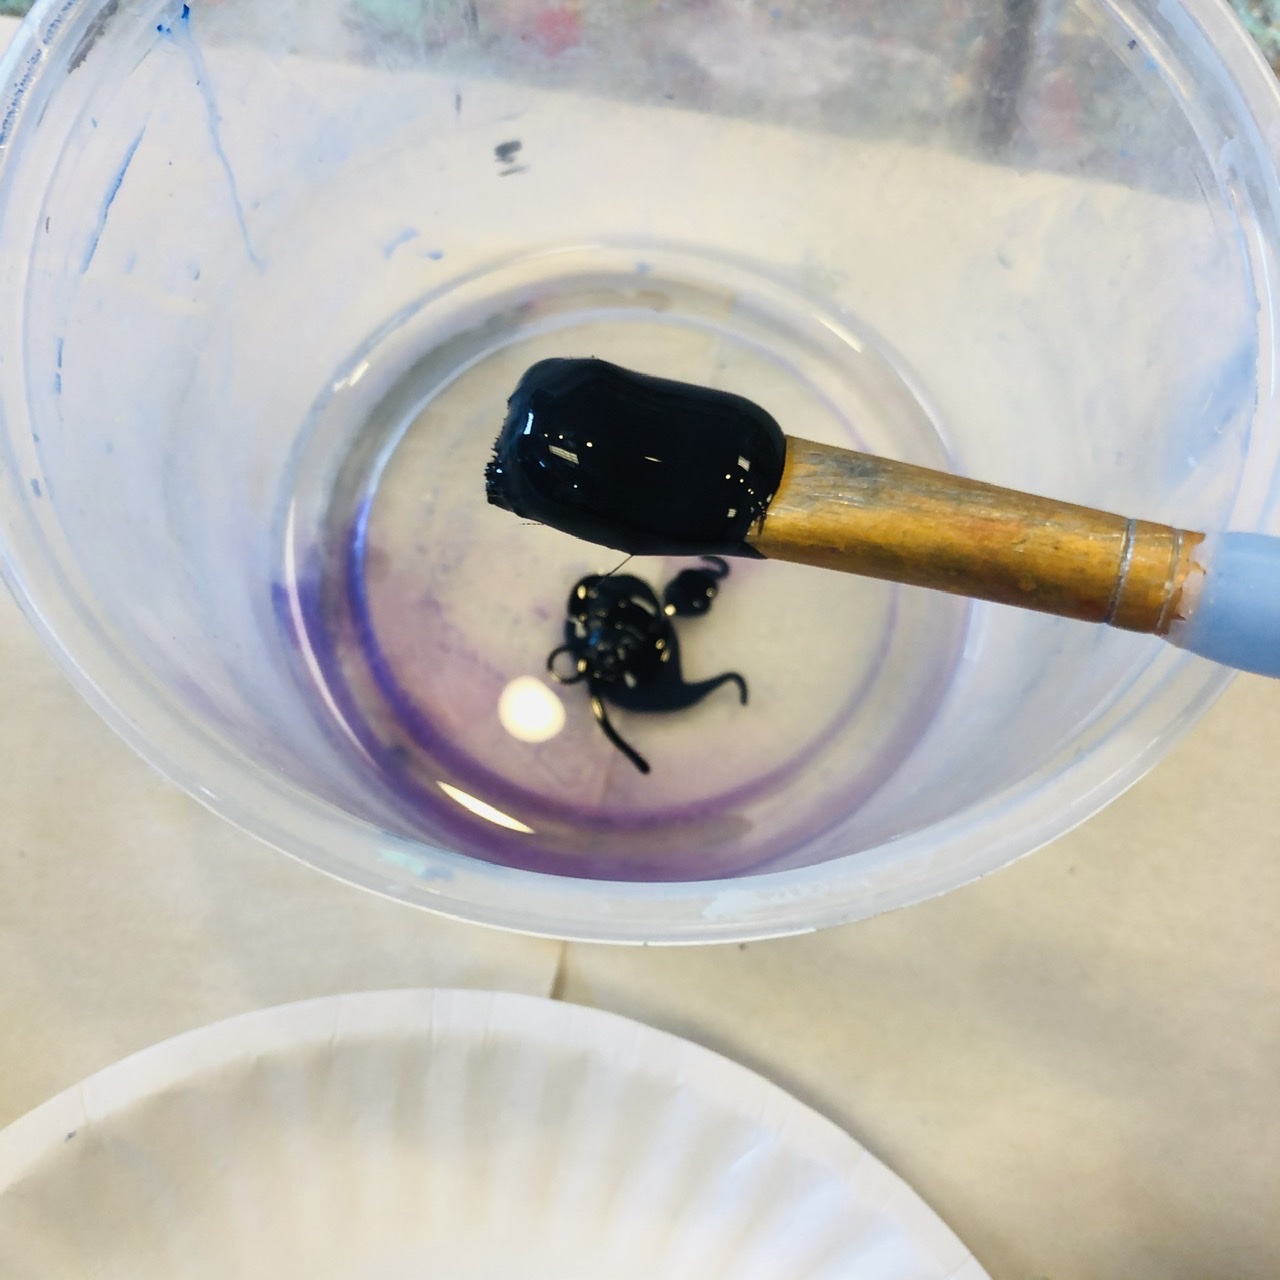
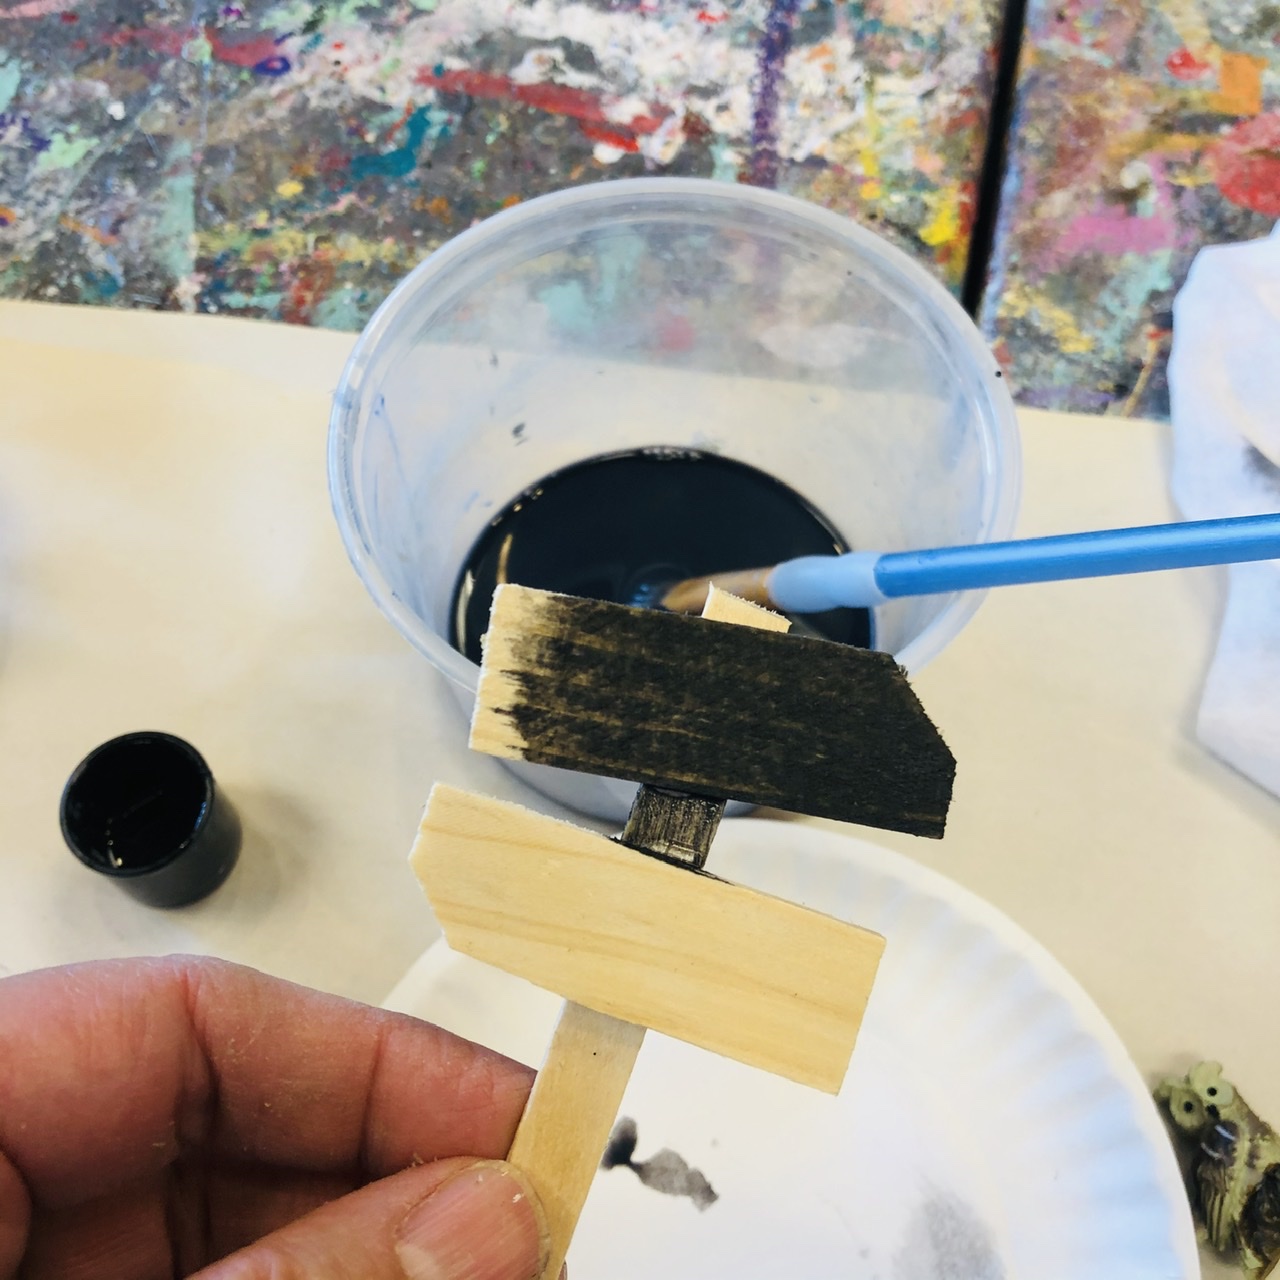
While the Styrofoam base of the diorama is drying, you can become working on the outside of the lantern. First, in a disposable dish, mix about 1/2 cup of water with about 1/2 teaspoon of black paint. Brush this mixture onto the wood sign to “stain” it. Wipe off excess stain with a wet wipe. Allow it to dry before writing on it with a sharpie.
The Styrofoam base that you decorated should be dry enough to place inside the lantern. Gently, tilt it just enough to fit inside, trying to not let anything fall off.
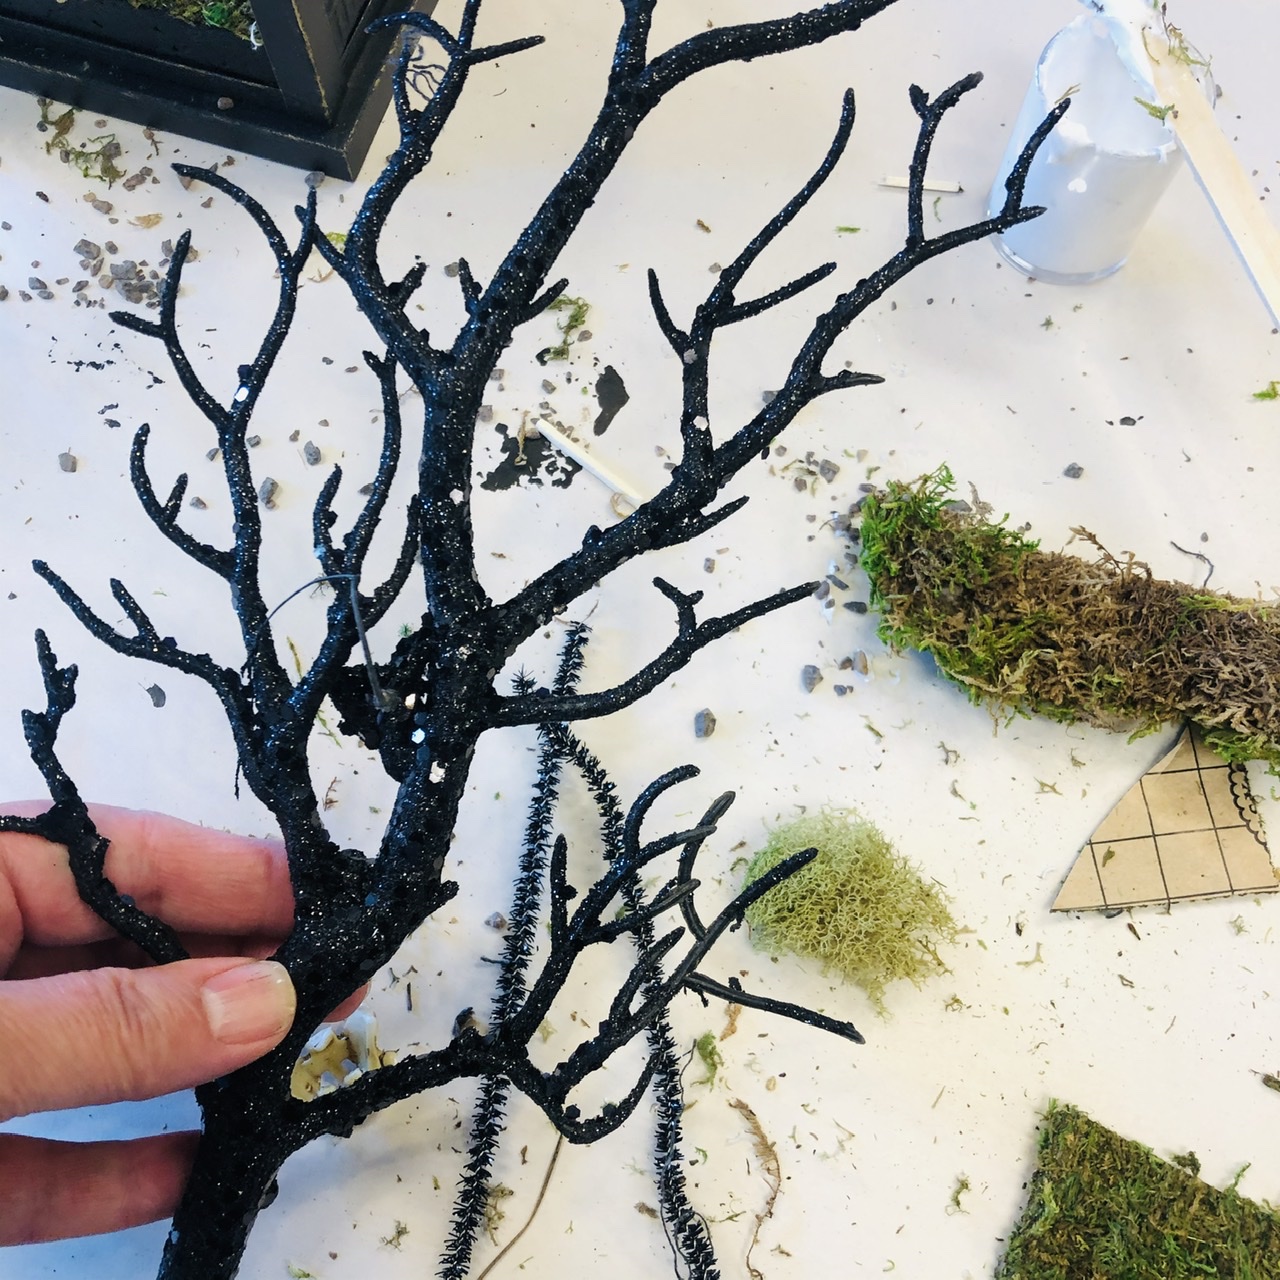
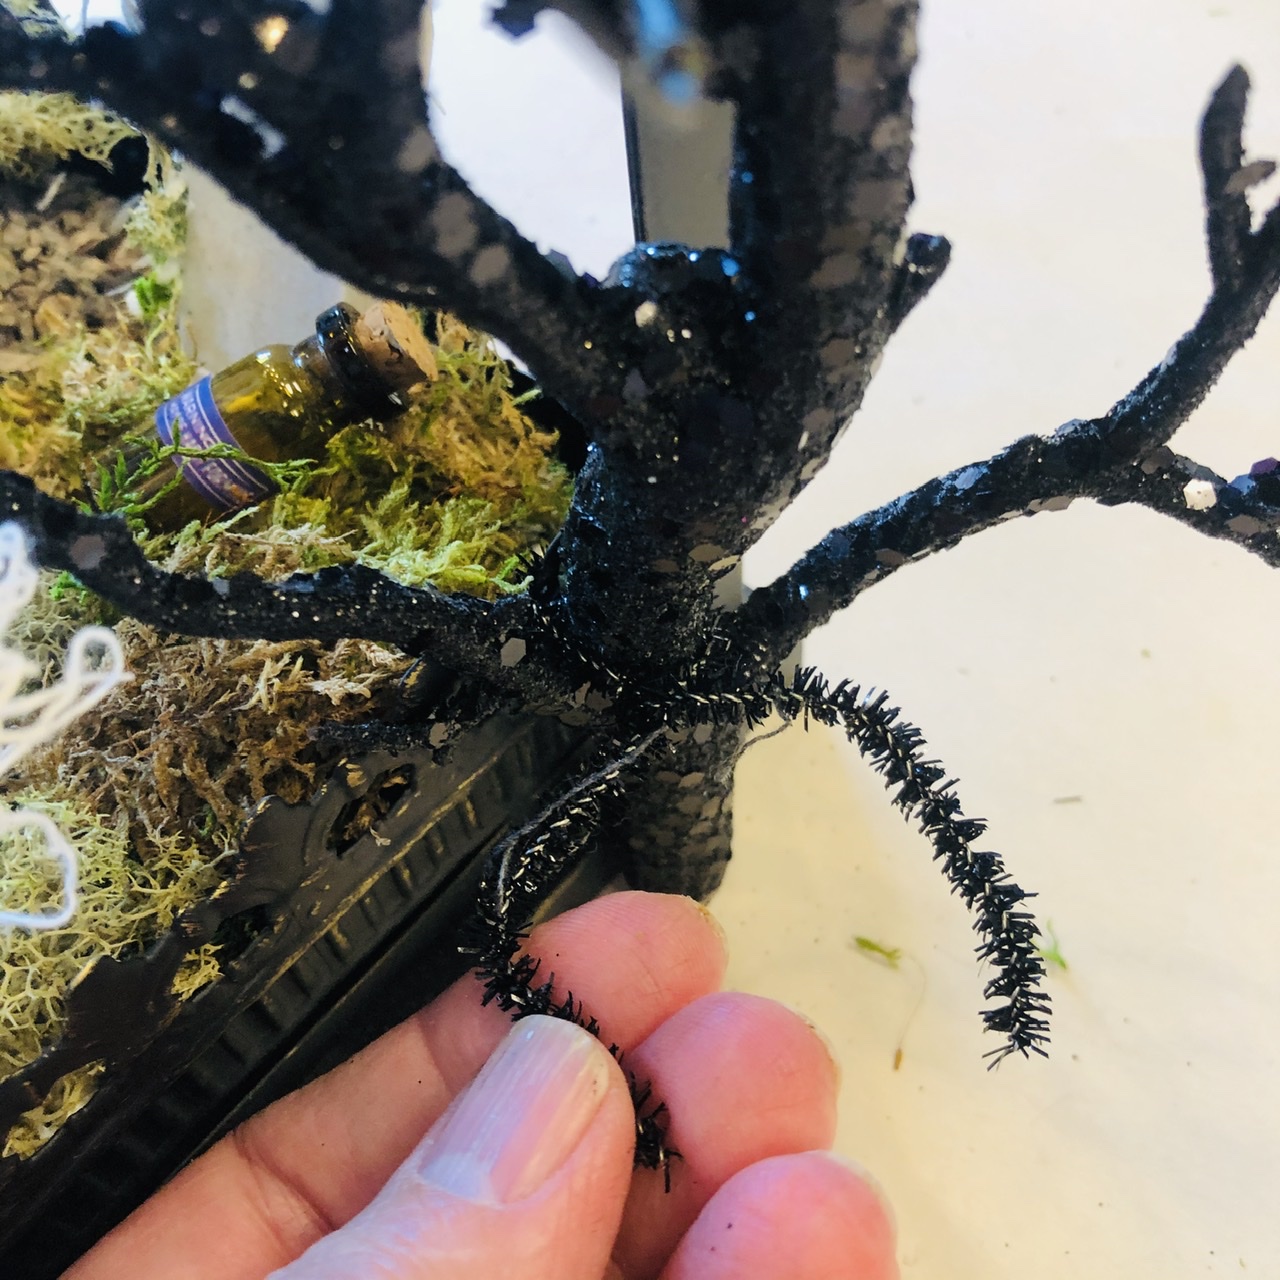
Now, it’s time to start decorating the outside of the lantern. Do you want it displayed with the door open or closed? Or do you want the door to be able to open and close? There are still plenty of items in the kit to decorate the outside edges, the door and the top of the lantern. Use the ULT glue to attach items to the roof of the lantern and the outside edges. The tree and garland attaches best with the black pipe cleaners, rather than glue.
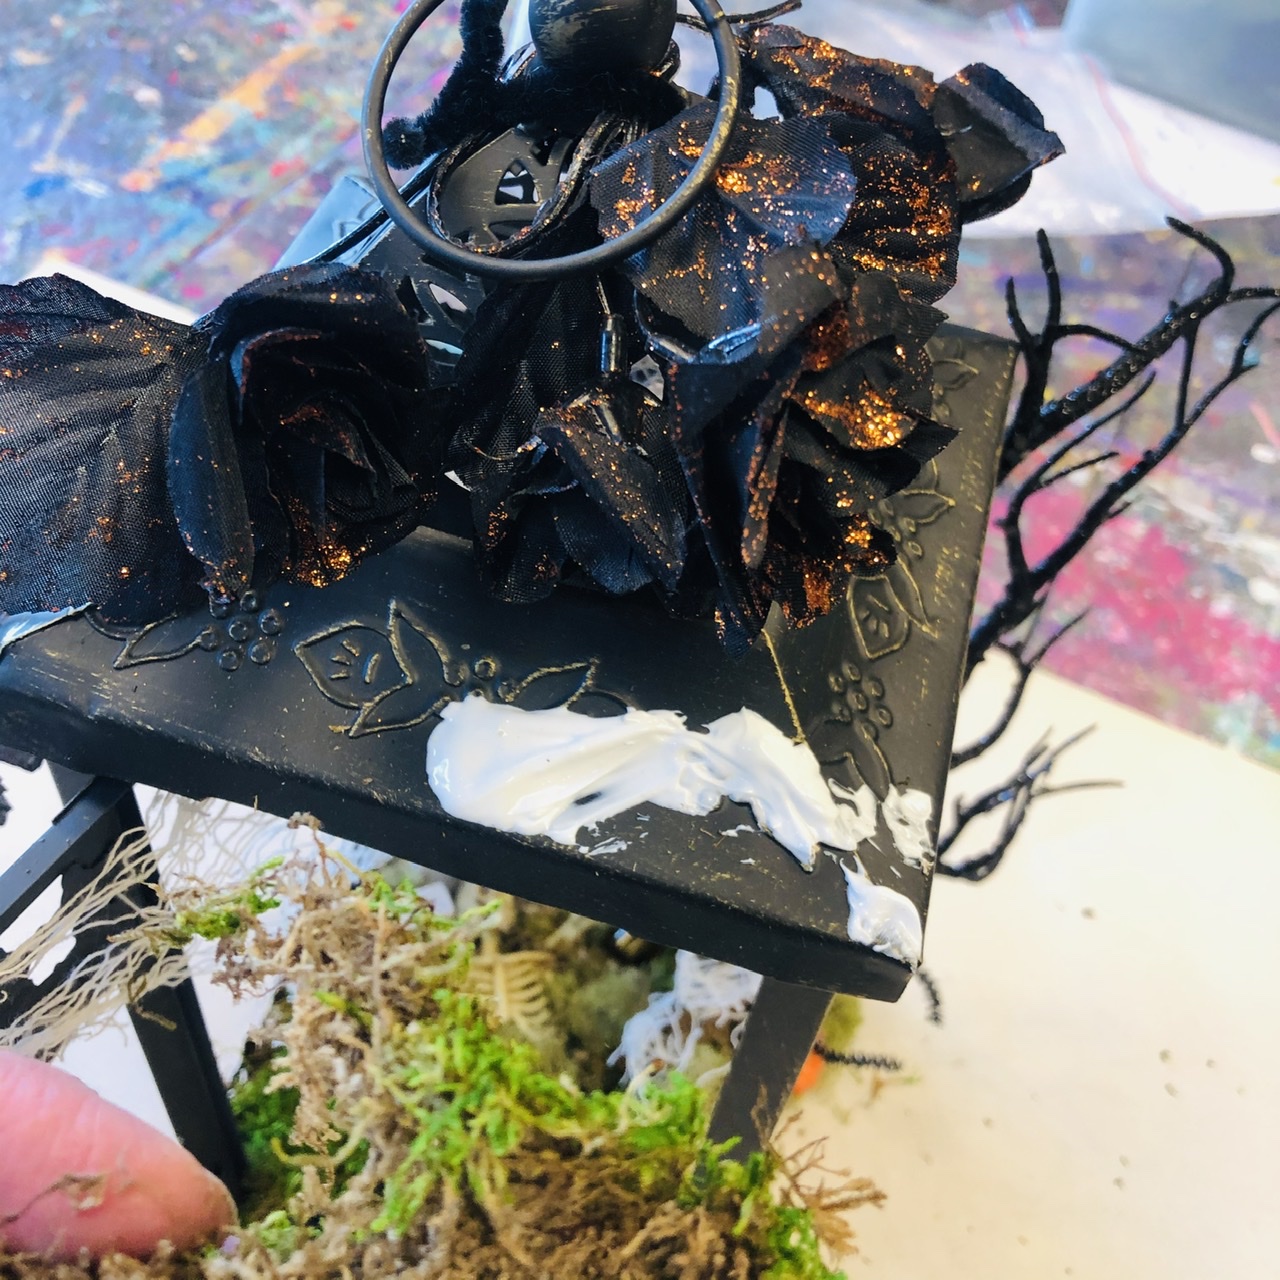


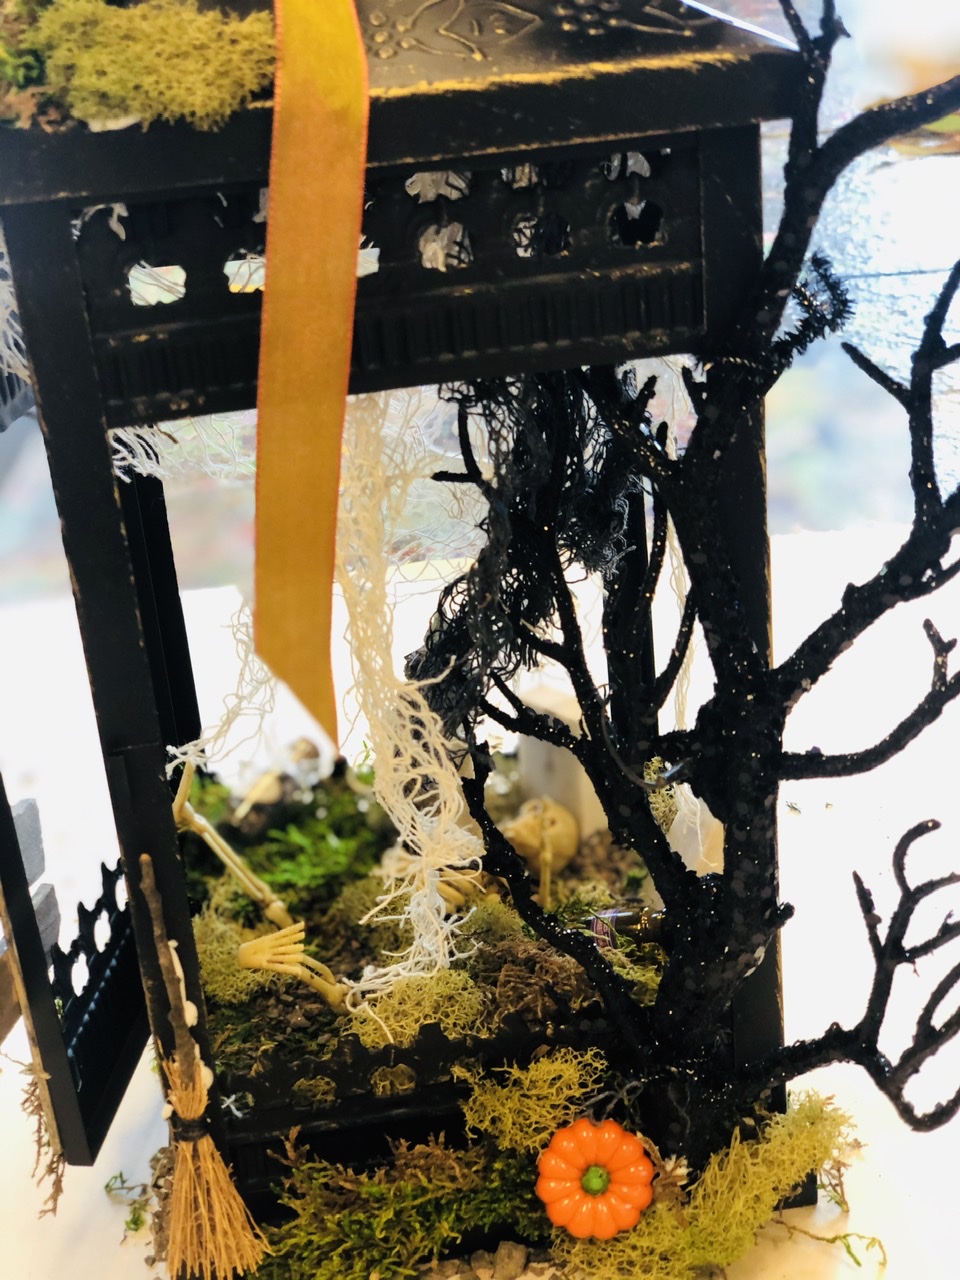
To attach the tree, I twisted one black pipe cleaner through the metal corner of the lantern, toward the top, and one toward the bottom. The pipe cleaners are also perfect for twisting on the black rose garland.
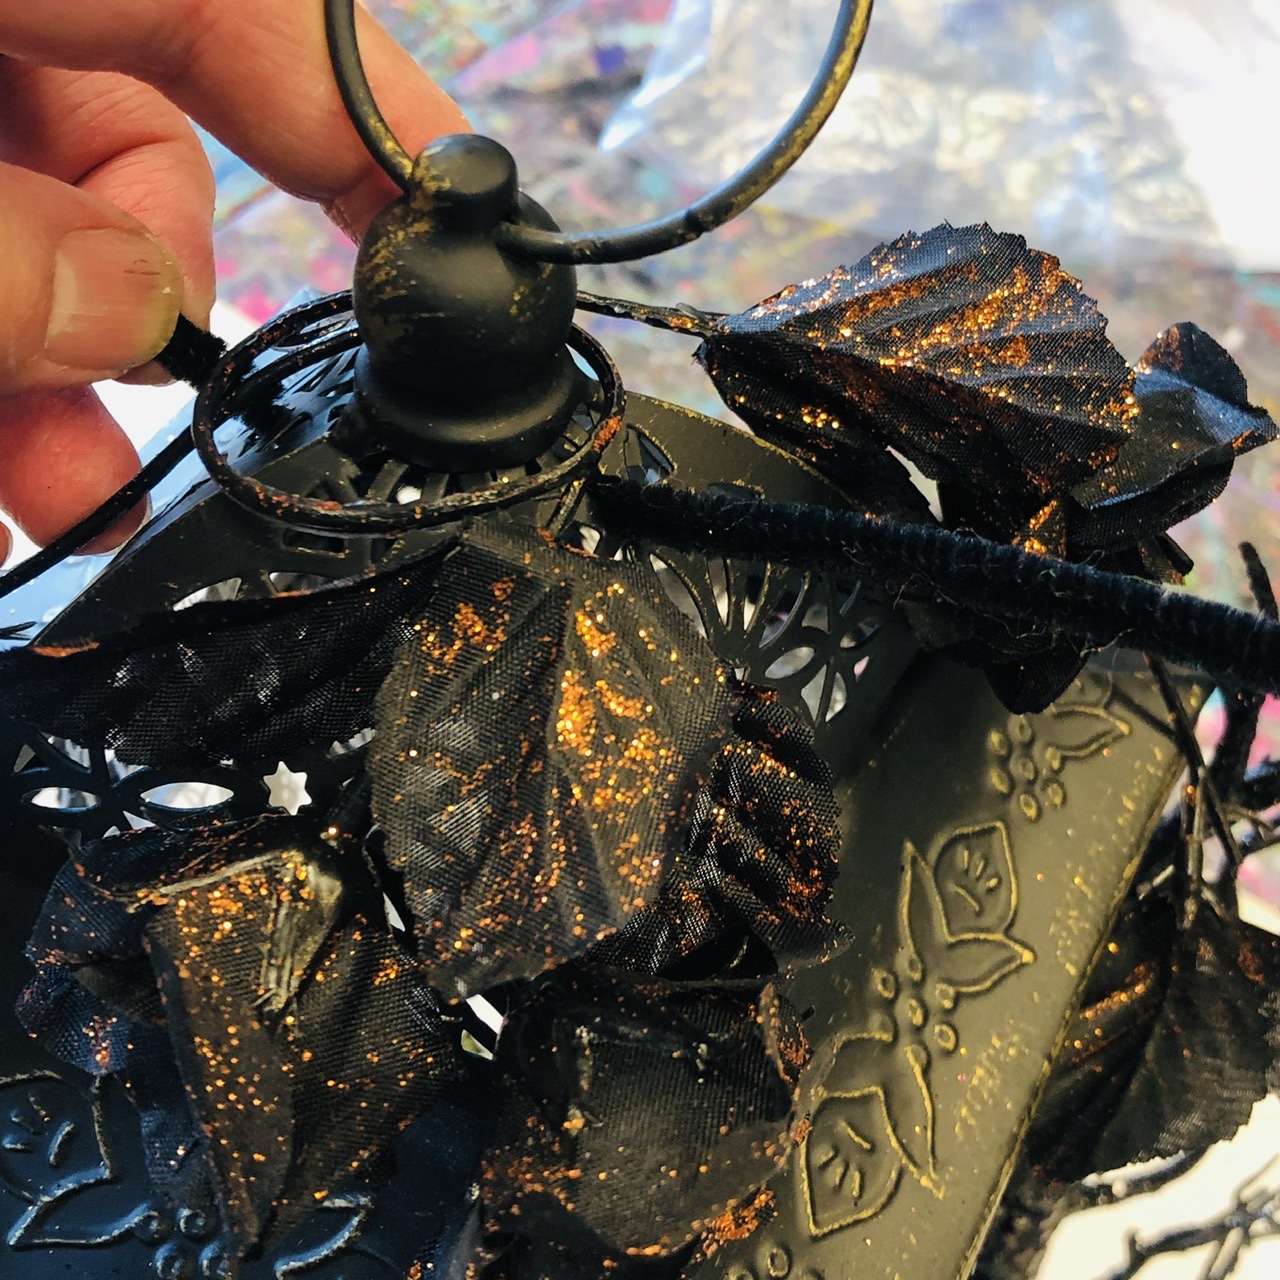
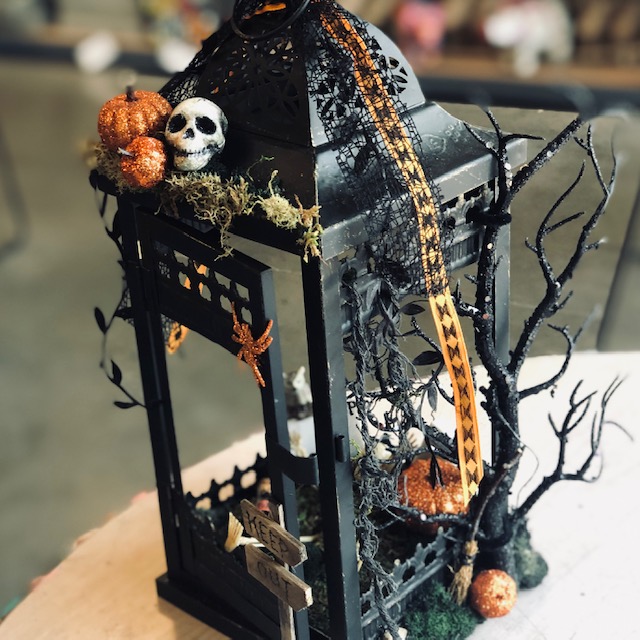
Using the remaining goodies, moss, ribbon, finish your lantern any way you like or save the materials for another day:) Have fun!